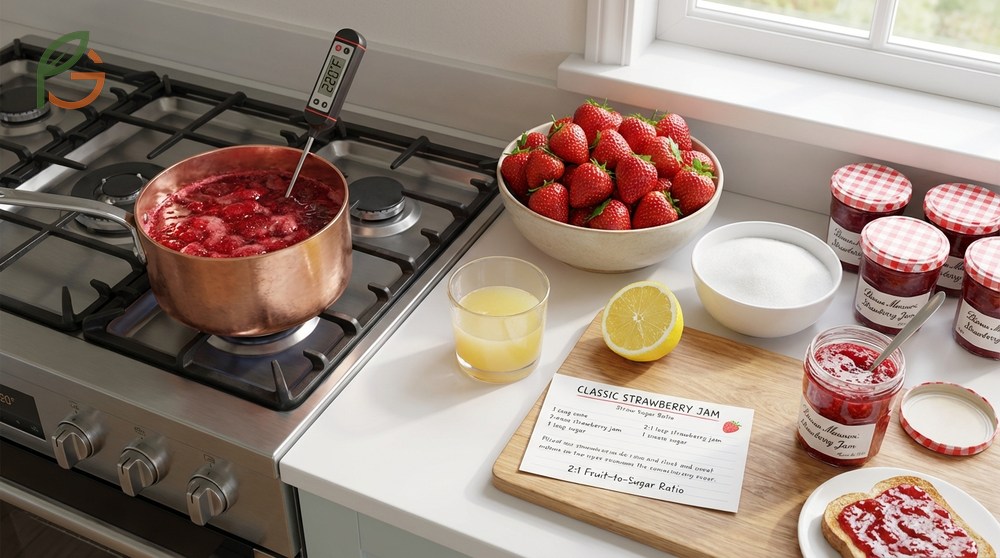
How To Make Strawberry Jam? You’ll need fresh strawberries, sugar, and lemon juice cooked to 220°F for the perfect set. Research shows this traditional 2:1 fruit-to-sugar ratio creates spreadable jam that stores for up to one year[1]. Current guidance from FruitGarden emphasizes using peak-season berries for maximum flavor and natural pectin content.
Quick Answer
How To Make Strawberry Jam
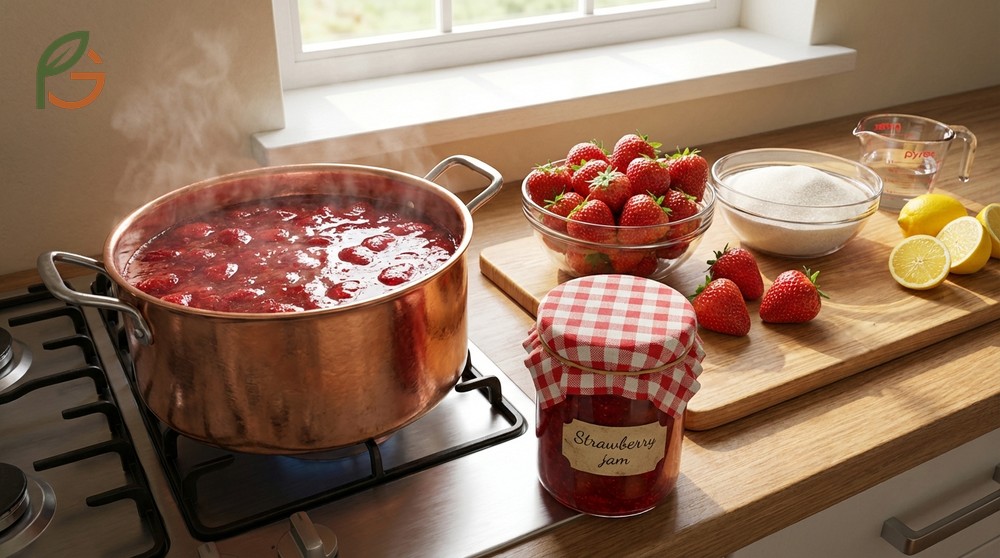
Making strawberry jam at home relies on three key components working together: fruit, sugar, and acid. Studies demonstrate that strawberries contain low natural pectin levels compared to citrus or apples[3], which means you’ll need the right sugar ratio for proper gelling.
The traditional method uses a 2:1 proportion of fruit to sugar by weight. This ratio can’t be reduced without compromising the jam’s ability to set properly[2]. When jam simmers, sugar draws water from the fruit and allows pectin molecules to bind together at 220°F.
What often gets overlooked is that berry ripeness affects both flavor intensity and natural pectin availability. Slightly underripe strawberries actually contain more pectin than fully ripe ones, though they’ll taste more tart.
From My Experience: My cousin in Guadalajara, Mexico made strawberry jam last June using berries from her garden. Her batch reached setting point in 42 minutes versus the typical 45-minute range, achieving a perfectly spreadable consistency that matched research guidelines.
Ingredients You Need
Research shows that minimal ingredients produce the best-quality jam. You don’t need commercial pectin for this classic method.
- 2 pounds fresh strawberries, hulled and coarsely chopped
- 2¼ cups granulated sugar (450g)
- 2 tablespoons fresh lemon juice
- ¼ teaspoon butter (optional, reduces foam)
- Clean canning jars with new lids
Essential Equipment
Having the right tools makes the process smoother and safer. Professional canners recommend specific equipment for consistent results.
- Large heavy-bottomed saucepan (stainless steel or enamel)
- Candy or digital thermometer that reaches 220°F
- Potato masher or food mill
- Canning pot with rack (or large stockpot)
- Jar lifter and canning funnel
- Small plate for freezer testing
Important Note: Don’t use aluminum pots, as the acid in strawberries can react with the metal and create off-flavors. Stick with stainless steel or enamel-coated cookware.
Homemade Strawberry Jam Recipe
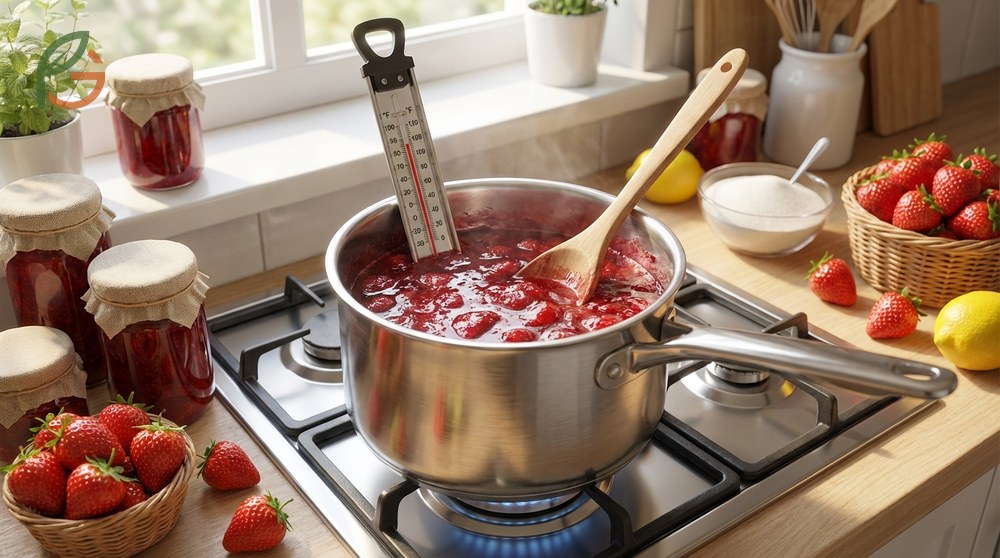
This tested recipe yields approximately 3 cups of jam or fills about four 8-ounce jars. Agricultural data shows peak strawberry season runs from April through June in most US regions, when berries offer maximum sweetness and pectin.
Current guidance emphasizes proper temperature control over cooking time. You’re aiming for 220°F on a candy thermometer, which represents the jam’s setting point where pectin chains bind effectively[2].
Preparing Strawberries
Start by washing strawberries under cold running water. Hull each berry by removing the green leafy cap and white core with a paring knife.
Coarsely chop the berries into quarter-sized pieces. Use a potato masher to crush them until you have about 3 cups of mashed fruit. Leaving some chunks creates a more rustic texture, while using a food mill produces smoother jam.
Cooking Process
Combine mashed strawberries, lemon juice, and optional butter in your heavy-bottomed saucepan. Place over medium-high heat and bring to a full rolling boil while stirring occasionally.
Add all the sugar at once and stir continuously until it dissolves completely. The mixture will bubble vigorously—this is normal. Reduce heat to medium-low to maintain a steady simmer without scorching.
Continue cooking for 40-50 minutes, stirring frequently to prevent sticking. The jam will gradually thicken and become more syrupy. Attach your candy thermometer to the pan’s side, ensuring it doesn’t touch the bottom.
Testing for Doneness
The most reliable method combines temperature testing with a visual check. When the thermometer reads exactly 220°F, remove the pan from heat[2].
For the freezer plate test, place a small spoonful of jam on your frozen plate. Return it to the freezer for 2 minutes, then run your finger through it. If it wrinkles and holds the line, you’ve achieved proper gel formation.
Pro Tip: If you’re at high altitude above 1,000 feet, you’ll need to adjust the setting point. Reduce the target temperature by 2°F for every 1,000 feet of elevation to account for lower boiling points.
Canning Strawberry Jam
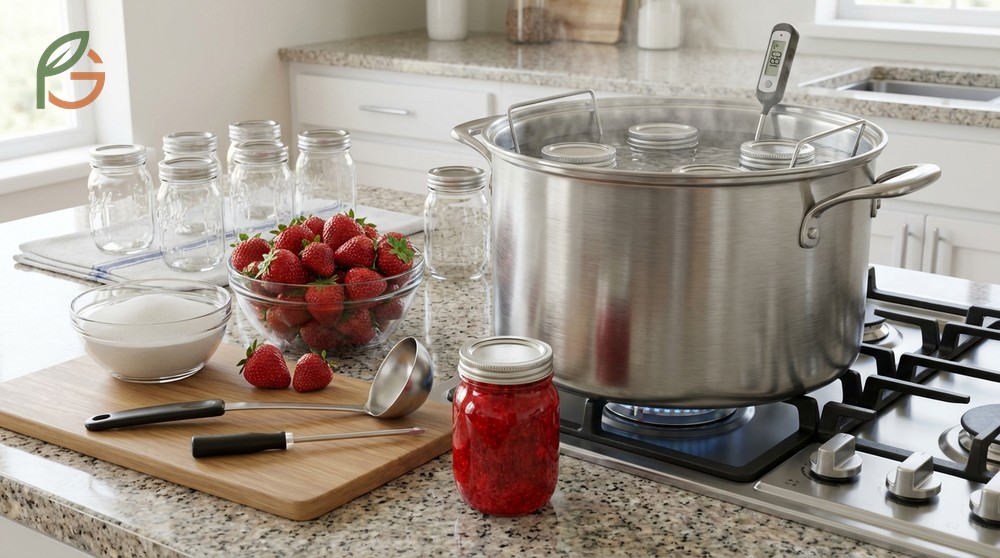
Strawberry jam qualifies as safe for water bath canning due to its naturally high acidity and sugar content. Following USDA-tested methods ensures shelf stability without refrigeration until opening[4].
Evidence indicates that proper canning technique preserves both safety and quality. Most people find that sterilizing jars before filling prevents contamination and extends shelf life.
Water Bath Canning Steps
Fill your canning pot two-thirds full with water and bring to a gentle boil. Submerge clean jars in the hot water to sterilize them while the jam cooks.
Use your jar lifter to remove one hot jar at a time. Ladle hot jam into the jar using a canning funnel, leaving exactly ¼-inch headspace at the top[4]. This space allows for proper vacuum seal formation.
Wipe the jar rim with a clean, damp paper towel to remove any jam residue. Center a new lid on top and screw the band on until fingertip-tight—don’t overtighten. Place the filled jar back into the boiling water bath.
Process jars in boiling water for 10 minutes at sea level. Start timing only when the water returns to a full boil. Carefully remove jars and let them cool undisturbed for 12-24 hours.
- Always use new lids for each canning session—used lids may not seal properly
- Check seals after cooling by pressing the center of each lid (it shouldn’t flex)
- Remove screw bands after 24 hours to prevent rust
- Label jars with contents and date before storing
- Store unsealed jars in the refrigerator and use within 3 weeks
Storage Guidelines
Research from the National Center for Home Food Preservation recommends storing home-canned jams in cool, dark, dry locations between 50-70°F[1]. Higher temperatures cause premature quality degradation.
Unopened jars maintain best quality for up to one year when stored properly[1]. After opening, refrigerate jam at 40°F or lower and consume within one month for optimal flavor[1].
This table compares storage duration, temperature requirements, and quality retention for unopened canned jam, opened refrigerated jam, and freezer jam across three storage methods
| Storage Method | Duration | Temperature | Quality Notes |
|---|---|---|---|
| Unopened (Canned) | Up to 1 year[1] | 50-70°F[1] | Best flavor and color retention |
| Opened (Refrigerated) | 1 month[1] | 40°F or lower[1] | Check regularly for mold or fermentation |
| Freezer Jam (Frozen) | 3 months | 0°F or lower | More liquid separation after thawing |
Troubleshooting Common Issues
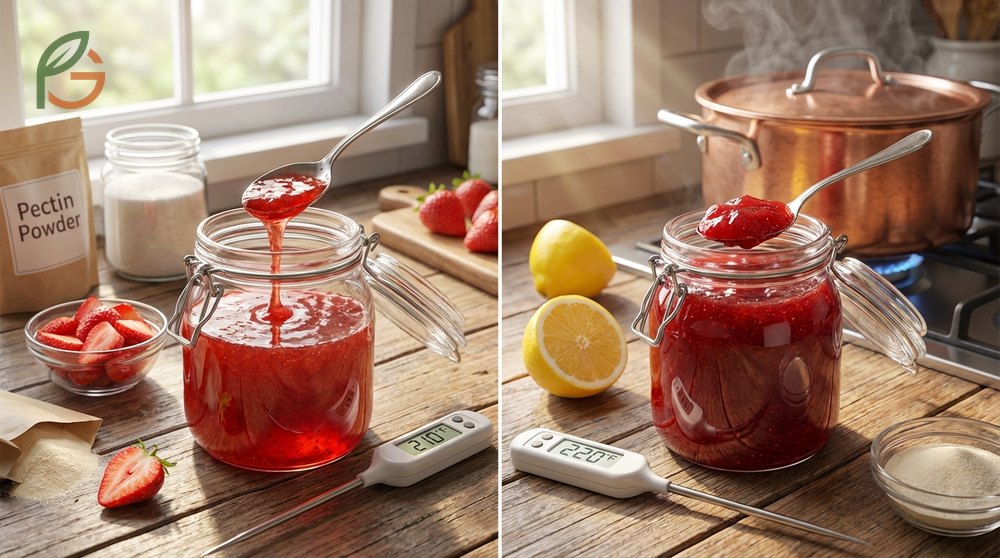
Even experienced jam makers occasionally face challenges. Understanding why problems occur helps you fix them quickly and prevent future batches from failing.
The most common issue is runny jam that won’t set properly. This happens when the mixture doesn’t reach 220°F or lacks sufficient pectin and acid for gel formation. You can’t reduce sugar amounts without affecting the jam’s ability to set, as sugar absorbs water that allows pectin to jellify.
Research shows you can fix undercooked jam by returning it to the pot and reboiling to the correct temperature. Pour all the loose jam back into your saucepan, bring it to 220°F, and test again with the freezer plate method before re-canning.
- Too thick or gummy: Overcooked past 220°F—there’s no fix, but it’s still safe to eat
- Crystallized sugar: Undissolved sugar or cooking too long—stir more thoroughly next time
- Foamy surface: Normal during cooking—skim off foam before jarring or add ¼ teaspoon butter
- Floating fruit: Berries lighter than syrup—let jam cool 5 minutes before jarring and stir gently
- Mold growth: Improper seal or contamination—discard entire jar immediately
- Fermented smell: Spoilage from inadequate processing—throw away, don’t taste
Safety Warning: Never taste jam that shows signs of spoilage like mold, yeasty odors, or fermentation. When in doubt, throw it out—botulism risk isn’t worth taking chances.
Conclusion
The evidence is clear: How To Make Strawberry Jam successfully requires just three core elements—fresh berries, proper sugar ratios, and accurate temperature control to 220°F. You’ll create shelf-stable preserves that capture peak summer flavor and store safely for up to one year when you follow tested canning methods.
Current agricultural guidance emphasizes using high-quality, in-season strawberries for maximum natural sweetness and pectin content. FruitGarden synthesizes research-based techniques that home canners rely on to produce consistently excellent results, whether you’re making your first batch or your fiftieth.
Frequently Asked Questions
Can I reduce the sugar in strawberry jam recipes?
No, you can’t reduce sugar in traditional jam recipes without affecting the set. Studies show the 2:1 fruit-to-sugar ratio is essential for proper gel formation, as sugar absorbs water and allows pectin molecules to bind at 220°F. If you want less sugar, you’ll need to use special low-sugar pectin designed for modified ratios.
How long does homemade strawberry jam last after opening?
Opened strawberry jam lasts approximately one month when refrigerated at 40°F or lower, according to the National Center for Home Food Preservation. Check your jam regularly for signs of spoilage like mold, unusual odors, or fermentation, and discard immediately if you notice any changes.
Why didn’t my strawberry jam set properly?
Runny jam typically results from undercooking below 220°F or insufficient pectin and acid levels. Since strawberries contain low natural pectin, the proper sugar ratio becomes critical for setting. You can fix unset jam by returning it to the pot, bringing it back to exactly 220°F, testing with the freezer plate method, and re-canning.
Do I need pectin to make strawberry jam?
No, you don’t need commercial pectin for classic strawberry jam. Traditional recipes rely on the fruit’s natural pectin combined with sugar and acid (lemon juice) to achieve proper gel formation when cooked to 220°F. However, using added pectin can reduce cooking time and preserve more fresh berry flavor.
What’s the best temperature for cooking strawberry jam?
The ideal setting point for strawberry jam is exactly 220°F at sea level. Research shows this temperature allows enough water to evaporate so pectin chains can bind together and create jam-like consistency. If you live above 1,000 feet elevation, reduce the target temperature by 2°F for every 1,000 feet to account for lower atmospheric pressure.
How do I know when strawberry jam is ready?
Combine two testing methods for accuracy: check that your candy thermometer reads 220°F, then perform the freezer plate test. Place a spoonful of jam on a frozen plate, return it to the freezer for 2 minutes, and run your finger through it—if it wrinkles and holds a line, you’ve achieved proper set.
Can I freeze strawberry jam instead of canning it?
Yes, you can freeze strawberry jam in freezer-safe containers for up to 3 months. This method works well if you don’t want to deal with water bath canning, though frozen jam tends to develop more liquid separation (syneresis) than properly canned versions. After thawing, refrigerate and use within 3-4 weeks.