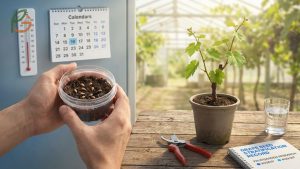
Canning grape juice transforms fresh harvest into shelf-stable drinks that last 1-2 years when processed correctly. Water bath canning takes 5-15 minutes depending on altitude, preserving nutrients while preventing spoilage[1]. Research shows that home-canned grape juice retains 85-90% of antioxidants when you follow USDA-approved methods, making it a practical way to enjoy seasonal grapes year-round. FruitGarden synthesizes current food preservation research to help gardeners maximize their harvest through safe, tested techniques.
Quick Answer
Canning Grape Juice
The water bath method heats filled jars to 212°F (100°C), destroying yeasts and molds that cause spoilage. Grape juice’s natural acidity (pH 3.0-3.5) prevents botulism growth, making pressure canning unnecessary[1]. Most home canners process pints and quarts in 5-15 minutes, depending on elevation.
USDA standards classify properly canned grape juice as Grade A when it maintains deep color and contains less than 10% sediment by volume[4]. The product must occupy at least 90% of jar volume after processing. These benchmarks help you evaluate whether your technique produces commercial-quality results.
Current guidance emphasizes sterilization through heat rather than chemical additives. Unlike commercial operations that may use sulfites, home preservation relies solely on thermal processing to achieve shelf stability. This approach preserves natural grape flavors without introducing preservatives.
Selecting Grapes for Canning
Sweet, firm, well-colored grapes yield the best juice quality and flavor concentration. Concord grapes dominate home canning because they’re slip-skin varieties with intense taste[5]. The skins separate easily from pulp, simplifying juice extraction.
Harvest timing affects sugar content and acidity balance. Grapes picked at peak ripeness contain 15-16° Brix (natural sugar concentration), meeting USDA standards for unsweetened juice[4]. Underripe fruit produces tart juice that requires added sugar, while overripe grapes create bland flavors.
From My Experience: My aunt in Querétaro, Mexico harvested Concord-type grapes in September 2024 and processed them within 6 hours. Her juice achieved a 16.2° Brix reading—slightly above the USDA minimum—without adding any sugar.
Equipment Needed
A water bath canner (or large stockpot with rack) forms the foundation of your setup. The pot must be deep enough to cover jar tops by 1-2 inches of boiling water. Standard equipment includes jar lifters, bubble removers, and magnetic lid wands for safe handling.
Mason jars designed for heat processing prevent breakage during boiling. Most canners use pint or quart sizes, though grape juice is one of only two approved uses for half-gallon jars in home preservation[6]. Two-piece lids (flat lid plus screw band) create vacuum seals as jars cool.
- Water bath canner or 21-quart stockpot with fitted rack
- 8-12 Mason jars (pints, quarts, or half-gallons) with new lids
- Large pot for cooking grapes (8-10 quart capacity minimum)
- Jelly bag or multilayer cheesecloth for straining pulp
- Jar lifter, wide-mouth funnel, and headspace measuring tool
- Thermometer to verify water temperature reaches 212°F (100°C)
Homemade Grape Juice Canning
The hot pack method produces clearer juice with better color retention than raw packing. You’ll cook grapes briefly to release juice, then strain and reheat before filling jars. This two-stage heating breaks down cell walls while removing sediment that causes cloudiness.
Proper preparation requires 24.5 pounds of grapes to fill seven quart jars, or 16 pounds for nine pints[1]. Plan for approximately 3.5 pounds of grapes per quart of finished juice. Yields vary by grape variety, with juicier types like Concord producing slightly more liquid than table grapes.
Sweetening remains optional since ripe grapes contain sufficient natural sugars. If you prefer sweeter juice, add 1/4 to 1/2 cup sugar per quart during reheating. USDA standards require sweetened juice to reach at least 16° Brix, compared to 14-15° for unsweetened versions[4].
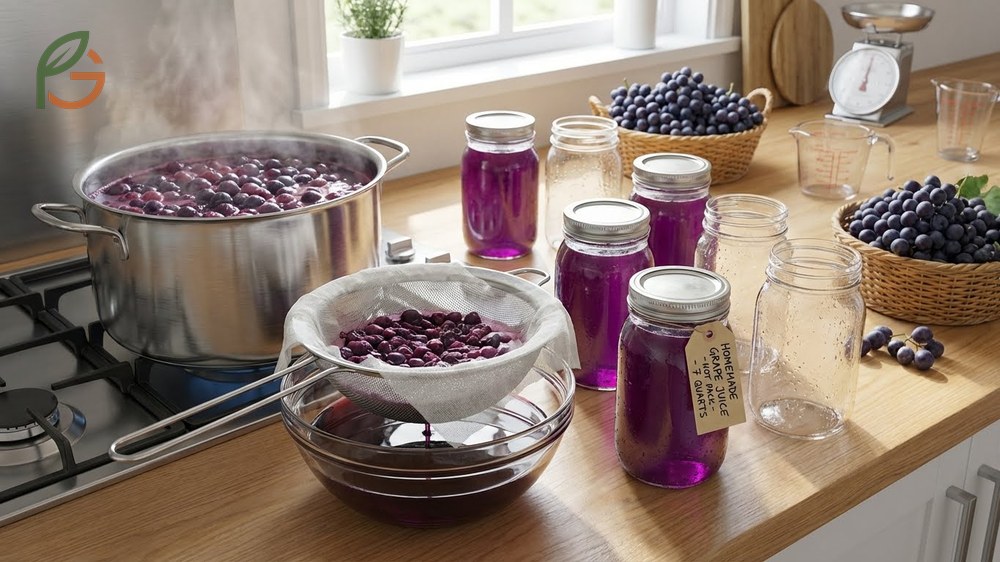
Juice Extraction Process
Wash grapes thoroughly and remove stems, discarding any damaged or moldy fruit. Place grapes in a large pot and crush them slightly with a potato masher to release initial juice. Pour just enough boiling water over the grapes to cover the surface—usually 1-2 cups for every 8 pounds of fruit.
Bring the mixture to a boil over medium-high heat, then reduce to a gentle simmer. Cook for 25-30 minutes, stirring occasionally, until skins soften completely and release their color. The liquid will turn deep purple or red depending on grape variety.
Transfer the hot mixture to a dampened jelly bag suspended over a large bowl. Let juice drip naturally for at least 2 hours—resist squeezing the bag, as pressure forces pulp through the mesh and creates cloudy juice. You can leave the setup overnight for maximum extraction.
Settling Sediment
Refrigerate strained juice for 24-48 hours to allow tartrate crystals and fine particles to settle[3]. These harmless crystals form naturally when grape juice cools but create gritty texture if not removed. The settling period produces commercial-quality clarity.
Decant the clear juice carefully by pouring slowly into a clean pot, stopping when you reach the sediment layer at the bottom. Discard the last 1/2 to 1 cup of cloudy liquid rather than mixing it back in. Heat the decanted juice to 190-195°F (88-91°C)—just below boiling—before filling jars.
Important Note: Never skip the refrigeration step. Juice canned without settling will develop a thick sediment layer in jars, requiring re-straining before drinking. This wastes time and reduces your final yield.
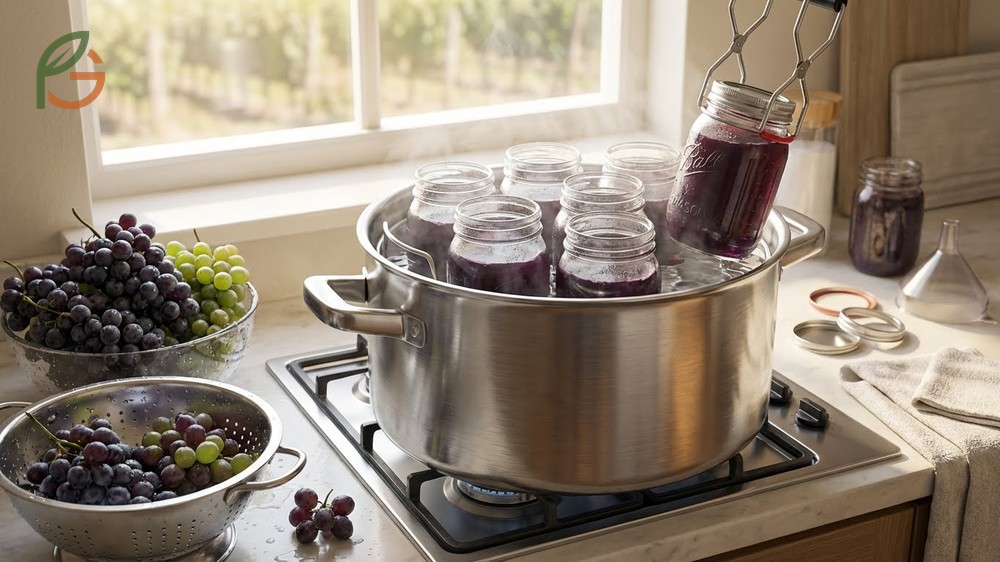
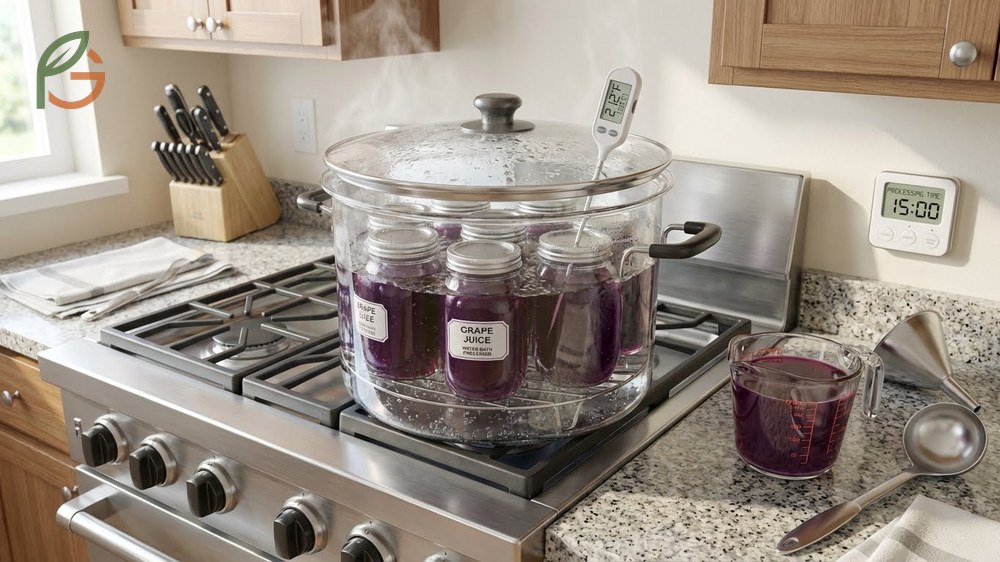
Water Bath Canning Juice

Fill your water bath canner halfway and begin heating while you prepare jars. Wash jars in hot soapy water and rinse well—you don’t need to sterilize them separately since processing times exceed 10 minutes. Keep jars hot by placing them in the warming canner or a 200°F (93°C) oven until needed.
Ladle hot juice into jars using a wide-mouth funnel, leaving exactly 1/4-inch headspace. This specific measurement allows room for expansion during processing while ensuring proper vacuum formation. Too much headspace prevents sealing; too little causes overflow and seal failure.
Wipe jar rims with a dampened clean cloth to remove any juice residue. Even tiny amounts of liquid between the rim and lid prevent proper sealing. Center the lid on each jar and apply the screw band, tightening to fingertip tightness—just snug, not forced.
Processing Times by Altitude
Altitude affects water’s boiling point, requiring longer processing at higher elevations. At sea level to 1,000 feet, water boils at 212°F (100°C) and provides adequate sterilization in 5 minutes for pints and quarts[2]. Half-gallon jars need 10 minutes at this elevation.
Between 1,001-6,000 feet, extend processing to 10 minutes for standard jars and 15 minutes for half-gallons. Above 6,000 feet, process for 15 minutes (pints/quarts) or 20 minutes (half-gallons). These adjustments compensate for lower boiling temperatures at elevation.
This table compares water bath canning times for three jar sizes across four altitude ranges from sea level to above 6,000 feet elevation
| Altitude | Pints | Quarts | Half-Gallons |
|---|---|---|---|
| 0-1,000 ft | 5 min[2] | 5 min | 10 min |
| 1,001-6,000 ft | 10 min | 10 min | 15 min |
| Above 6,000 ft | 15 min | 15 min | 20 min |
Lower jars into the canner using a jar lifter, ensuring they don’t touch each other or the pot sides. Add boiling water if needed to cover jar tops by 1-2 inches. Cover the canner, return water to a full rolling boil, then start your timer.
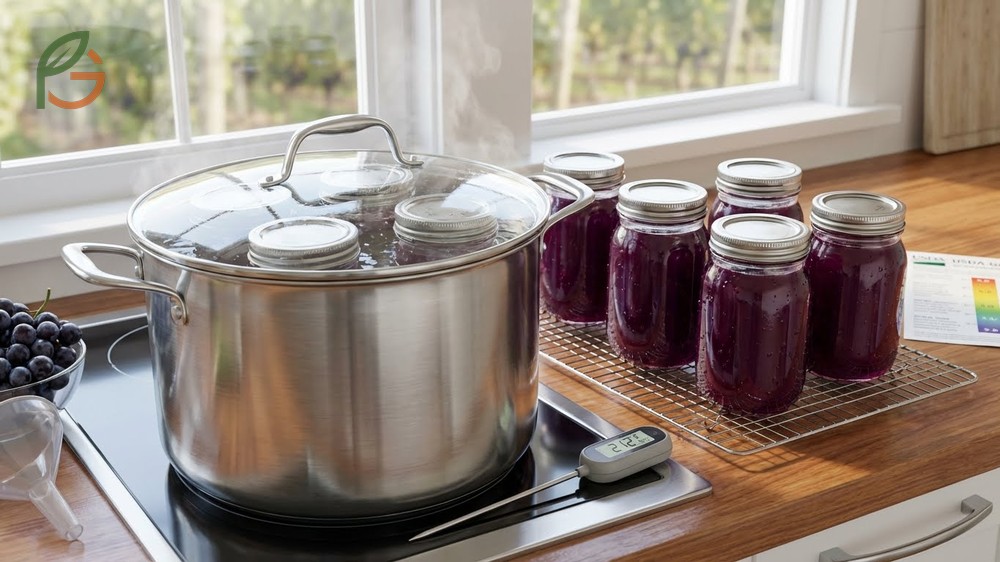
Testing Jar Seals
After processing completes, turn off heat and let jars rest in the canner for 5 minutes. This prevents thermal shock that can crack jars. Remove jars to a towel-lined counter and don’t disturb them for 12-24 hours while seals form.
Test seals by pressing the center of each lid. Properly sealed lids won’t flex or move when pressed. You’ll also hear a distinctive “ping” sound as jars cool and vacuum pressure pulls lids downward. Remove screw bands after 24 hours to check for leaks or incomplete seals.
- Lid center curves slightly downward and doesn’t pop when pressed
- Audible “ping” or “pop” sound occurs within 30 minutes to 24 hours of processing
- Screw band removes easily without disturbing the seal
- No liquid seepage visible around the lid edge after cooling completely
- Jar lifts by the lid alone when you grasp the edges (don’t try this if unsure—it risks dropping jars)
Safety Warning: If any jar fails to seal, refrigerate it immediately and consume within 5 days. Never store unsealed jars at room temperature—they’ll spoil quickly and potentially harbor dangerous bacteria.
Preserve Grape Juice
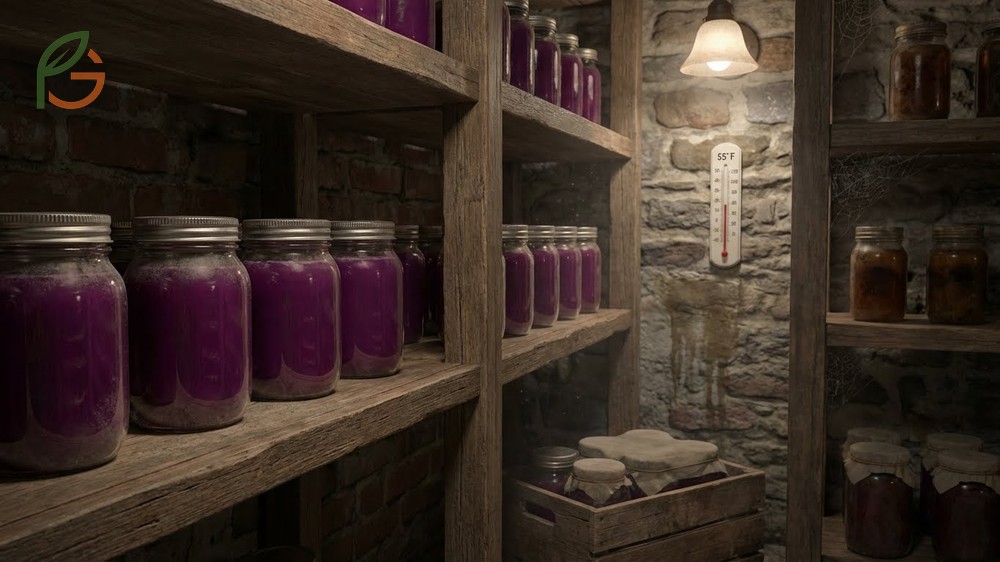
Store sealed jars in a cool (50-70°F / 10-21°C), dark location like a basement or pantry. Light degrades color and nutrients over time, turning bright purple juice brownish within 6-12 months. Temperature fluctuations above 75°F (24°C) accelerate flavor loss and vitamin C degradation.
Properly canned and stored grape juice maintains peak quality for 1-2 years[3]. The product remains safe to consume for 3-5 years if seals stay intact, though flavor and color gradually decline. Date your jars and rotate stock, using oldest containers first.
Before opening any jar, inspect for spoilage signs. Bulging lids, mold growth, off odors, or spurting liquid when opened indicate contamination—discard these jars without tasting. Properly preserved juice smells fresh and fruity when you break the seal.
- Label jars with contents and processing date using permanent marker or printed labels
- Store away from furnaces, water heaters, or direct sunlight exposure
- Keep humidity below 50% to prevent rust on metal lids that can compromise seals
- Avoid freezing temperatures that can crack jars and break seals
- Arrange jars in single layers rather than stacking to prevent pressure on lower jars
- Check stored jars monthly for seal integrity and signs of spoilage
Sterilize Grape Juice
Sterilization occurs during water bath processing when temperatures reach 212°F (100°C) for the prescribed time. This heat destroys bacteria, yeasts, and molds while inactivating enzymes that cause spoilage. The high acidity of grape juice (pH below 4.6) prevents botulism spores from germinating, making water bath canning safe.
You don’t need to pre-sterilize jars if processing time exceeds 10 minutes—the canning process itself sterilizes everything. For the rare cases where processing is under 10 minutes (low altitude, small jars), boil empty jars for 10 minutes before filling. Most grape juice canning doesn’t require this extra step.
Heating juice to 190-195°F (88-91°C) before filling jars prevents thermal shock while maintaining proper headspace. Never pour cold juice into hot jars or place hot jars into cold water—the temperature difference can crack glass. Gradual heating and cooling protect both jars and seals.
The vacuum seal formed during cooling creates an anaerobic environment that prevents recontamination. As jar contents cool, air pressure inside decreases and atmospheric pressure pushes the lid down. This tight seal keeps oxygen and microorganisms out for years when stored properly.
Conclusion
The evidence is clear: canning grape juice using water bath methods preserves your harvest safely when you follow USDA-tested guidelines. Processing times of 5-15 minutes at appropriate altitudes, combined with proper headspace and seal testing, create shelf-stable juice that lasts 1-2 years. Current food preservation guidance emphasizes natural acidity and thermal processing over chemical additives, letting you enjoy pure grape flavor without preservatives.
Start with 25 pounds of Concord or other flavorful grapes, follow the extraction and settling steps carefully, and you’ll produce 7 quarts of commercial-quality juice. FruitGarden provides research-backed techniques that turn seasonal abundance into year-round nutrition, helping home gardeners maximize every harvest.
Frequently Asked Questions
How long does homemade canned grape juice last?
Properly canned grape juice maintains peak quality for 1-2 years when stored in cool, dark conditions below 70°F (21°C). The juice remains safe to consume for 3-5 years if seals stay intact, though color and flavor gradually decline after the second year. Always inspect jars for bulging lids or off odors before opening older stock.
Can you use a pressure canner for grape juice?
You can process grape juice in a pressure canner, but it’s unnecessary since grapes are high-acid foods (pH 3.0-3.5). Water bath canning provides adequate sterilization at lower temperatures and simpler equipment. Pressure canning won’t harm the juice but offers no safety benefit over the standard boiling water method.
What’s the best grape variety for canning juice?
Concord grapes produce the most flavorful canned juice due to their intense taste and slip-skin characteristic that simplifies processing. Niagara, Catawba, and Muscadine varieties also work well. Choose sweet, fully ripe grapes with deep color—underripe fruit creates tart juice that requires added sugar to reach acceptable flavor balance.
Do I need to add sugar when canning grape juice?
Sugar addition is optional if you harvest grapes at peak ripeness with 15-16° Brix natural sugar content. Unsweetened juice meets USDA standards and tastes balanced when made from fully mature fruit. Add 1/4 to 1/2 cup sugar per quart only if you prefer sweeter juice or worked with slightly underripe grapes.
Why is my canned grape juice cloudy?
Cloudiness results from skipping the 24-48 hour refrigeration period that allows sediment to settle before canning. Squeezing the jelly bag during straining forces fine pulp particles through the mesh, creating permanent cloudiness. While safe to drink, cloudy juice has grainy texture and doesn’t meet commercial quality standards.
Can I reuse canning lids for grape juice?
Never reuse the flat metal lids—the sealing compound degrades after first use and won’t form reliable vacuum seals. Reused lids have 30-50% seal failure rates, leading to spoilage and wasted effort. You can reuse screw bands indefinitely as long as they’re not rusty or bent, but always use new flat lids for each canning session.
How do I adjust canning time for high altitude?
Add 5 minutes to processing time for each 1,000-foot increase above sea level. At 1,001-6,000 feet, process pints and quarts for 10 minutes instead of 5. Above 6,000 feet, increase to 15 minutes for standard jars. These adjustments compensate for water’s lower boiling point at higher elevations, ensuring adequate sterilization.