
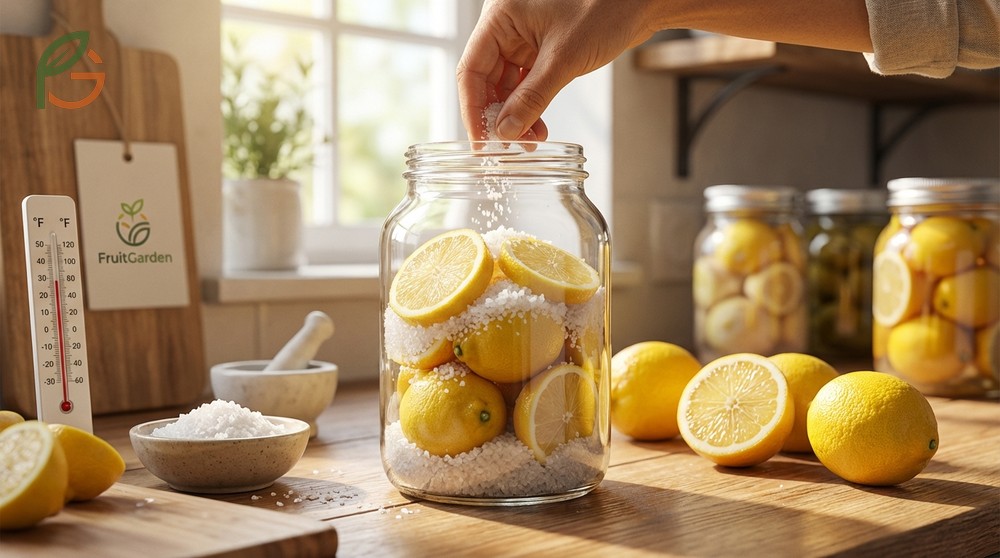
How to make preserved lemons? The traditional Moroccan method requires just two ingredients—lemons and coarse salt—plus 3-4 weeks of patience.[1] Research shows fermentation at 60-75°F (15-24°C) creates probiotics while softening the peels into tangy, umami-rich condiments.[2] FruitGarden combines traditional preservation methods with modern food science to help home cooks master this centuries-old technique.
Quick Answer
- You’ll need 7-10 lemons and 1/3-1/2 cup coarse salt (about 20% salt by weight)[3]
- Cut lemons into quarters (leaving base intact) and pack generously with salt[1]
- Ferment at room temperature 60-75°F (15-24°C) for 3-4 weeks minimum[2]
- Store in refrigerator for 6-12 months once fermentation completes[4]
How to Make Preserved Lemons
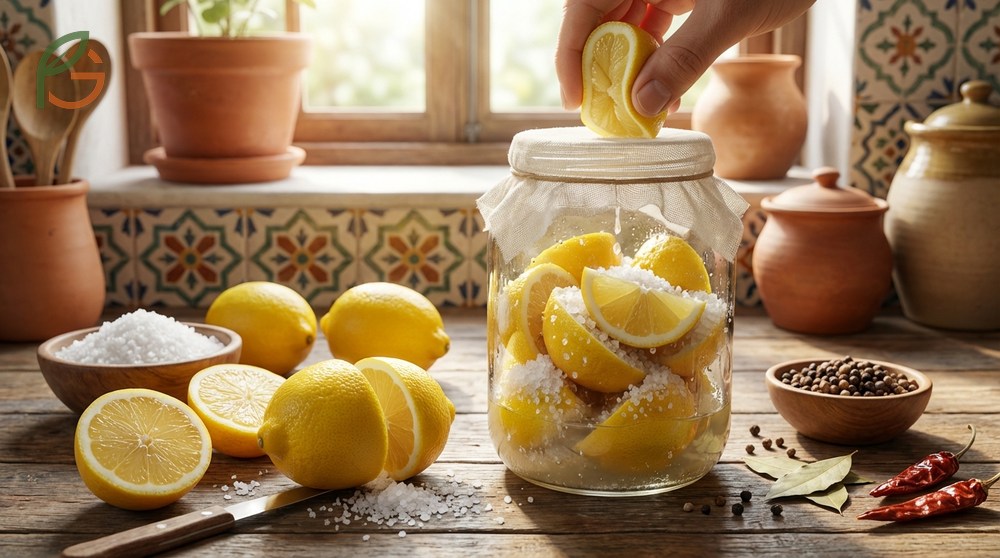
The Moroccan preservation technique transforms ordinary lemons into complex flavor bombs through lacto-fermentation. Salt draws out the lemon’s natural juices, creating a brine that encourages beneficial bacteria while preventing spoilage.[1] Unlike quick-pickled versions, authentic preserved lemons develop their signature mellow, umami depth over weeks.
Most people don’t realize that preserved lemons aren’t just salty—they’re probiotic-rich foods similar to sauerkraut. The fermentation process creates beneficial bacteria that can support gut health while transforming both peel and flesh into edible, intensely flavored condiments.[5] You’ll use mainly the peel in cooking, but don’t discard the pulp—it adds depth to dressings and marinades.
The beauty of this method lies in its simplicity. You won’t need special cultures, pH meters, or fermentation airlocks. The high acidity of lemons combined with adequate salt creates an environment where only beneficial microbes thrive.
From My Experience: My cousin in Guadalajara, Mexico started her first batch in March 2024 using Meyer lemons from her backyard. The peels softened perfectly in 28 days versus the typical 21-30 day range, achieving vibrant flavor that transformed her chicken tagines.
Choosing the Right Lemons
Eureka lemons—the standard grocery store variety—work perfectly for traditional preserved lemons. They’re more acidic and tart than Meyer lemons, creating that characteristic sharp, salty flavor.[6] Meyer lemons, being a lemon-mandarin hybrid with thinner skins, produce sweeter preserved lemons that work beautifully in desserts and lighter dishes.
Choose organic or unsprayed lemons whenever possible. You’re eating the entire peel, so pesticide residues matter. Look for firm, bright yellow fruits without soft spots or blemishes—damaged areas can harbor unwanted bacteria.
Essential Equipment
- One quart-sized (32 oz) mason jar or glass jar with tight-sealing lid
- Coarse kosher salt or sea salt (never iodized salt, which inhibits fermentation)
- Clean cutting board and sharp knife
- Fermentation weight or small glass jar to keep lemons submerged
- Wooden spoon or muddler for packing lemons
Important Note: Don’t use metal lids directly touching the brine—salt can corrode metal. If using mason jars with metal lids, place parchment paper between the lid and jar opening, or use plastic fermentation lids.
Preserved Lemon Recipe
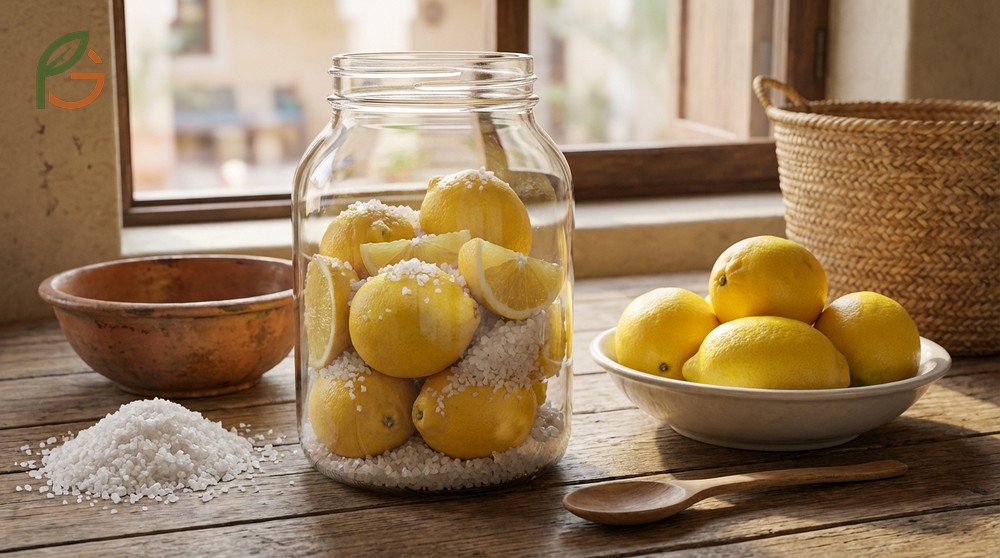
This authentic Moroccan recipe skips the spices and aromatics found in many Western adaptations. Traditional North African cooks use only salt and lemons, allowing the fruit’s natural flavors to shine.[1] You can experiment with bay leaves, cinnamon sticks, or coriander seeds later, but master the basic method first.
The salt-to-lemon ratio isn’t an exact science. You’ll need roughly 1/3 to 1/2 cup of coarse salt for 7-10 medium lemons, which translates to approximately 20% salt by total weight.[3] This concentration prevents spoilage while encouraging the right bacterial activity.
Step-by-Step Instructions
Start by scrubbing 7-8 lemons thoroughly under running water. Pat them completely dry—excess water dilutes the salt concentration and can lead to problems. Cut off any hard stem pieces at the top.
Make your cuts carefully: slice from the top (stem end) down toward the bottom, stopping about 1 inch from the base. Rotate the lemon 90 degrees and make a second cut, creating an X pattern.[7] The lemon should open like a flower but remain connected at the bottom. This exposes maximum surface area to the salt while keeping the fruit intact.
Open each quartered lemon and pack generously with coarse salt—roughly 1 tablespoon per lemon. Don’t be shy with the salt; excess will dissolve into the brine. Squeeze the lemon closed and push it firmly into your sterilized jar. Pack lemons as tightly as possible; this pressure helps release juice.
After packing your jar tightly, you’ll likely need to add fresh lemon juice from 1-2 additional lemons to ensure the preserved lemons stay submerged.[2] Leave about 1/2 inch of headspace at the top. Place a fermentation weight on top to keep everything under the brine.
Fermentation Timeline
- Days 1-5: Flip or shake the jar twice daily to distribute salt evenly and encourage juice release
- Days 5-7: Lemons will soften noticeably and release more liquid; you’ll see bubbles forming (normal fermentation activity)
- Weeks 2-3: Color shifts from bright yellow to dull orange; peels become translucent and pliable
- Week 3-4: Minimum fermentation period completes; taste test after 3 weeks—peels should be tender without bitterness[2]
- Month 2+: Flavor mellows and deepens; many cooks prefer lemons after 2-3 months of aging[1]
Salt Preserved Lemons: Understanding the Process
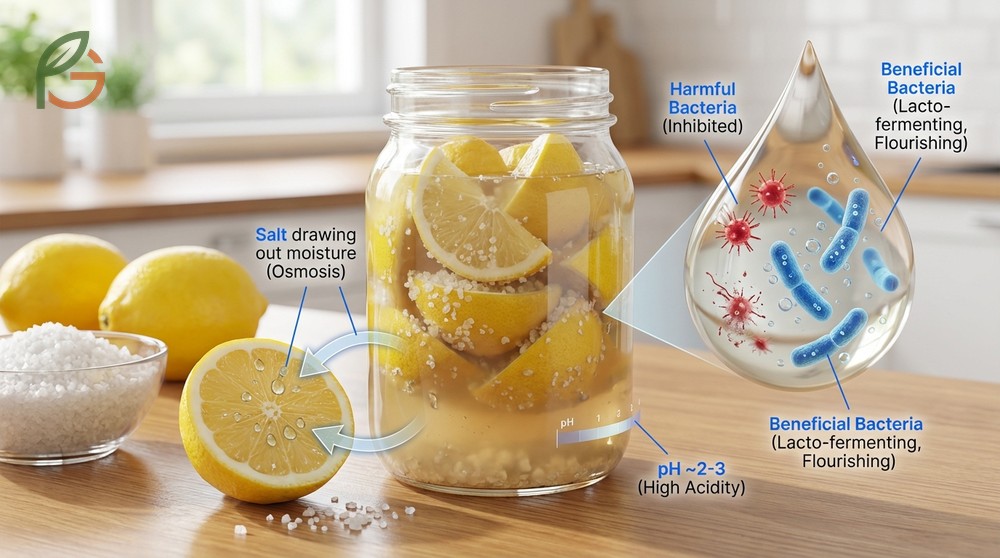
Salt performs double duty in preserved lemons. It draws moisture from the lemon cells through osmosis, creating the all-important brine. Simultaneously, it creates an environment hostile to harmful bacteria while allowing beneficial lacto-fermenting organisms to flourish.
The science behind this is elegant: at approximately 20% salinity, pathogenic bacteria can’t survive, but the lemon’s high acidity (pH around 2-3) provides extra insurance.[3] This dual-barrier system makes preserved lemons remarkably safe, even when fermented at room temperature for weeks.
You’ll notice the texture transformation is as dramatic as the flavor change. Raw lemon peel is tough and bitter; preserved lemon peel becomes silky, almost buttery, with that bitterness replaced by complex umami notes. The flesh softens completely but turns intensely salty—rinse before using if you’re sensitive to sodium.
Salt Ratios and Safety
While 20% salt by weight is the gold standard for preservation, you can’t really over-salt this recipe.[3] Lemons will only absorb so much salt; excess settles at the bottom of the jar or stays dissolved in the brine. This is why traditional recipes call for “generous” or “plenty of” salt rather than exact measurements.
The critical rule is keeping lemons completely submerged. Any fruit exposed to air can develop mold. If you see white film on the surface, don’t panic—it’s usually harmless kahm yeast. Skim it off and ensure everything stays below the brine line.
Safety Tip: Always use clean utensils when removing lemons from the jar. Introducing contaminants from dirty spoons or hands can compromise the entire batch and introduce unwanted bacteria.
Moroccan Preserved Lemons Uses
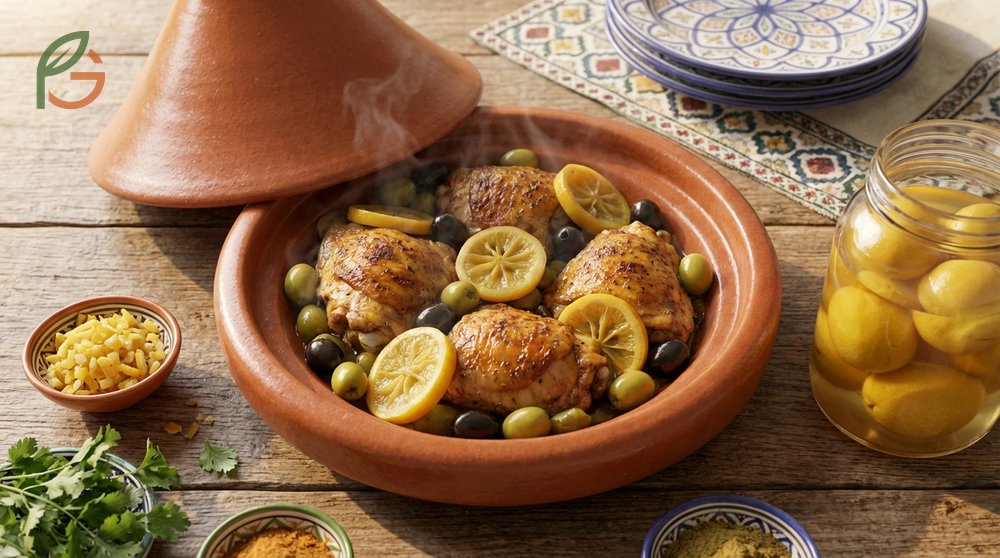
Chicken tagine with preserved lemons and olives represents the quintessential Moroccan dish that showcases these fermented gems. The preserved lemon’s mellow, salty-sour notes balance rich chicken thighs, while olives add briny depth.[8] You’ll typically rinse the preserved lemon, remove the pulp, and slice the peel into thin strips before adding it during the last 15 minutes of cooking.
Beyond tagines, preserved lemons brighten countless dishes. Mince the peel finely and stir it into grain salads, couscous, or rice pilaf for instant flavor complexity. Blend preserved lemon into salad dressings, mayo, or yogurt-based sauces—just a teaspoon transforms ordinary condiments.
The peel works beautifully in non-Moroccan applications too. Add it to pasta dishes, roasted vegetables, or mashed into compound butter for fish. Some creative cooks even dice it into cocktails or blend it into hummus for unexpected depth.
- Fold minced preserved lemon peel into tuna or chicken salad for brightness
- Blend into vinaigrettes with olive oil, garlic, and fresh herbs
- Chop and mix into bread dough or focaccia before baking
- Add to slow-cooked beans, lentils, or stews in the last 10 minutes
- Puree with roasted red peppers for a tangy spread or dip
- Tuck slices under chicken or fish skin before roasting for aromatic steam
Making Preserved Citrus: Storage and Troubleshooting
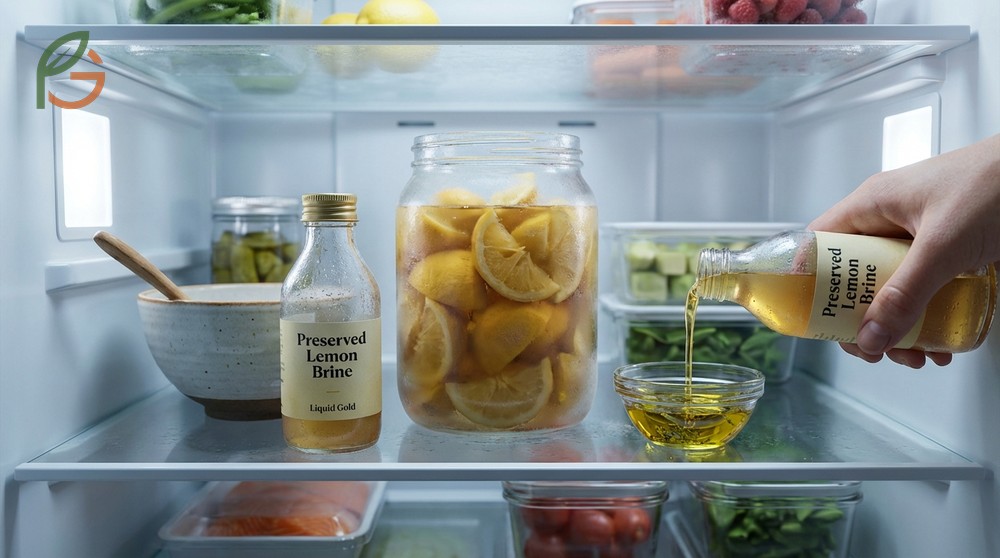
Once your lemons have fermented for at least 3-4 weeks, transfer the jar to the refrigerator. Cold temperatures slow residual fermentation dramatically, essentially putting the process on pause.[4] Properly stored and kept submerged in brine, preserved lemons last 6-12 months refrigerated—some cooks report success with batches over a year old.
The brine itself is liquid gold. It’s intensely flavored and can be used like lemon juice in dressings, marinades, or cocktails. Just remember it’s very salty, so adjust recipes accordingly. If your brine level drops over time, top it off with a mixture of fresh lemon juice and water.
You can adapt this technique to other citrus fruits with excellent results. Limes, oranges, grapefruits, and even kumquats preserve beautifully using identical methods. Meyer lemons create sweeter, more delicate preserved citrus perfect for dessert applications.[6] Adjust fermentation time slightly—thinner-skinned varieties like limes may be ready in 2-3 weeks.
Common problems are easy to fix. If lemons aren’t releasing enough juice after a few days, add fresh lemon juice to cover them. If you see fuzzy mold (not white film), discard affected fruit and ensure the rest stays submerged. Fermentation that’s too fast or vigorous usually means your kitchen is too warm—aim for that 60-75°F (15-24°C) sweet spot.[2]
Pro Tip: Don’t throw away brine when you’ve used all the lemons. Freeze it in ice cube trays for quick flavor boosts in future cooking—one cube adds instant complexity to soups, braises, or pan sauces.
Conclusion
The evidence is clear: how to make preserved lemons doesn’t require special skills or exotic ingredients—just quality fruit, coarse salt, and patience. Current culinary guidance emphasizes traditional fermentation methods that preserve beneficial bacteria while creating the complex flavors North African cooks have treasured for centuries. Once you’ve tasted the mellow, umami-rich depth of properly aged preserved lemons, you’ll understand why this technique has endured.
Start your first batch today and explore the flavor possibilities. FruitGarden encourages home cooks to connect with traditional preservation methods that transform seasonal abundance into year-round pantry staples.
Frequently Asked Questions
How long do preserved lemons need to ferment before using?
The minimum fermentation time is 3-4 weeks at room temperature between 60-75°F (15-24°C).[2] However, many cooks prefer waiting 2-3 months for the flavors to mellow and deepen fully. You can taste-test after three weeks—if the peel is tender and not bitter, they’re ready to use.
Can I make preserved lemons without salt?
No, salt is essential for both preservation and fermentation. It prevents harmful bacteria growth while drawing out the lemon’s natural juices to create the brine.[3] The approximately 20% salt concentration is what makes this method safe for room-temperature fermentation. Low-sodium alternatives won’t provide adequate preservation.
Do I eat the flesh or just the peel of preserved lemons?
Primarily use the peel, which becomes silky and mellow during fermentation. The flesh turns extremely salty and is usually discarded or rinsed thoroughly before minimal use. Traditional Moroccan recipes call for rinsing preserved lemons, removing the pulp, and mincing just the peel into dishes.[8] Some cooks save the pulp for blending into dressings where dilution tames the saltiness.
What’s the difference between Meyer and Eureka lemons for preserving?
Eureka lemons (standard grocery store variety) are more acidic and tart, creating the traditional sharp, salty preserved lemon flavor. Meyer lemons—a lemon-mandarin hybrid—have thinner skins and produce sweeter, more delicate preserved lemons perfect for lighter dishes or desserts.[6] Both work beautifully; choose based on your intended use.
How long do preserved lemons last in the refrigerator?
Properly stored preserved lemons last 6-12 months refrigerated, and sometimes longer.[4] The key is keeping them completely submerged in brine—this prevents mold and maintains quality. Use clean utensils every time you remove a lemon to avoid introducing contaminants. If the brine level drops, top it off with fresh lemon juice.
Can I add spices like cinnamon or bay leaves to preserved lemons?
Traditional Moroccan preserved lemons use only salt and lemons, allowing the fruit’s natural flavors to develop fully.[1] You can add aromatics like bay leaves, cinnamon sticks, coriander seeds, or peppercorns for variation, but master the basic recipe first. Spices can sometimes interfere with fermentation or overpower the lemon’s subtle complexity.
What should I do if mold appears on my preserved lemons?
White film on the surface is usually harmless kahm yeast—simply skim it off and ensure all lemons stay submerged. However, if you see fuzzy green, blue, or black mold, remove and discard affected fruit immediately. Check remaining lemons carefully; if they smell bad or look damaged, it’s safest to discard the entire batch. Mold typically occurs when fruit isn’t fully submerged or when contaminated utensils introduce unwanted bacteria.