How to make coconut milk from scratch requires just two ingredients: fresh coconut meat and hot water. Research shows that homemade coconut milk contains no preservatives or additives, unlike commercial versions, and you’ll get 400-450ml of rich, creamy milk from one coconut.[1] FruitGarden provides practical guidance for home gardeners and fruit enthusiasts who want to maximize their coconut harvest with traditional preparation methods.
Quick Answer
How to Make Coconut Milk
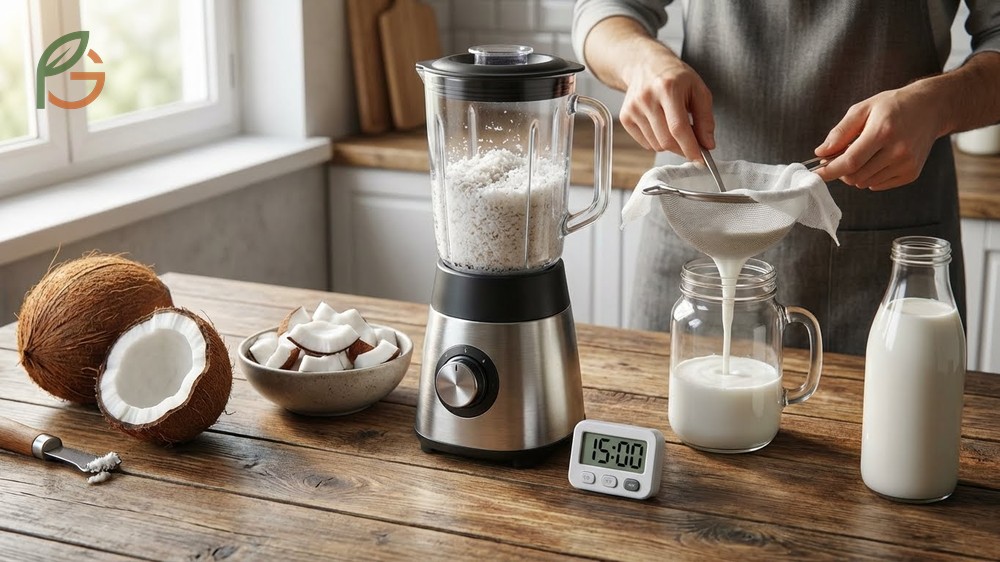
Making coconut milk at home starts with selecting mature coconuts that contain firm white meat. You’ll crack open the coconut, extract the meat, then blend it with hot water before straining. The entire process takes about 15-20 minutes from start to finish.
One large ripe coconut produces approximately 1 pound of coconut meat, which yields 5-6 cups grated.[2] This amount creates enough milk for multiple recipes. Most people don’t realize that timing matters more than quantity when extracting maximum flavor from the meat.
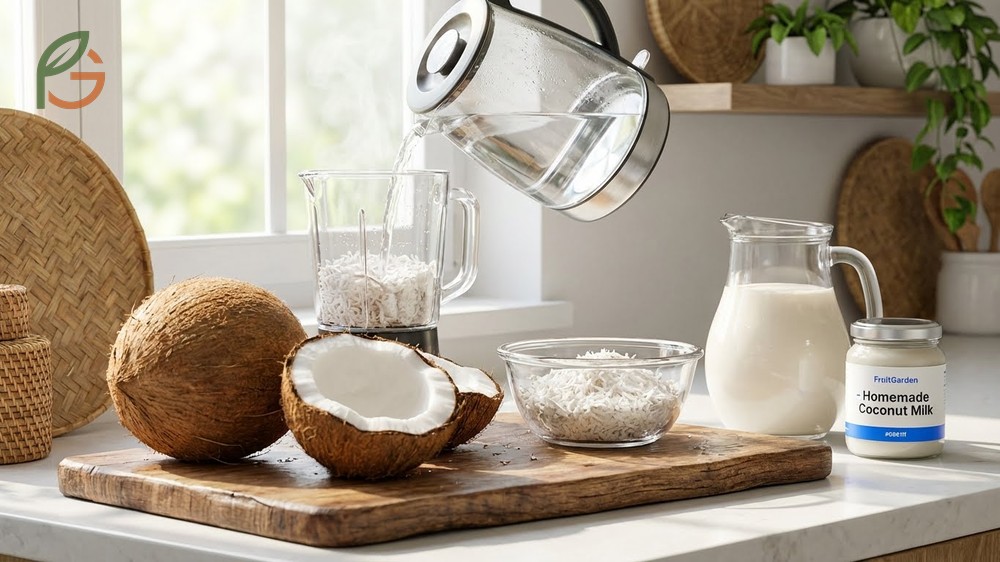
Current guidance emphasizes using hot (not boiling) water to release the natural oils and fats from coconut meat. The heat helps break down the cellular structure, allowing more coconut cream to transfer into the liquid. Cold water works too, but it produces thinner, less creamy milk.
From My Experience: My cousin in Guadalajara, Mexico grows coconut palms in her backyard and taught me this trick in summer 2024. She lets the cracked coconut meat sit in hot water for 3-4 minutes before blending—it increased her milk yield by about 20% compared to immediate blending.
Choosing the Right Coconut
Mature brown coconuts work best for milk production because they contain more fat and less water than young green coconuts. Shake the coconut near your ear—you should hear liquid sloshing inside, which confirms freshness. A dried-out coconut won’t have much liquid and typically yields less milk.
Look for coconuts without cracks, mold spots, or wet areas on the shell. The three “eyes” at the top should be dry and intact. Heavy coconuts generally contain more meat than lighter ones of the same size.
Extracting Coconut Meat
Pierce two of the three eyes with a screwdriver or corkscrew, then drain the coconut water into a glass. You can drink this separately—it’s not used for making coconut milk. Wrap the drained coconut in a towel and hit it firmly with a hammer until the shell cracks into large pieces.
Use a butter knife to pry the white meat away from the shell. Don’t worry about removing the thin brown skin—it’s edible and adds nutrients. Cut the meat into 1-2 inch chunks for easier blending.
Homemade Coconut Milk
Studies demonstrate that homemade coconut milk contains no gums, emulsifiers, or preservatives that commercial brands add for shelf stability.[4] You control exactly what goes into your milk—just coconut and water. This purity matters for people avoiding additives or following specific dietary protocols.
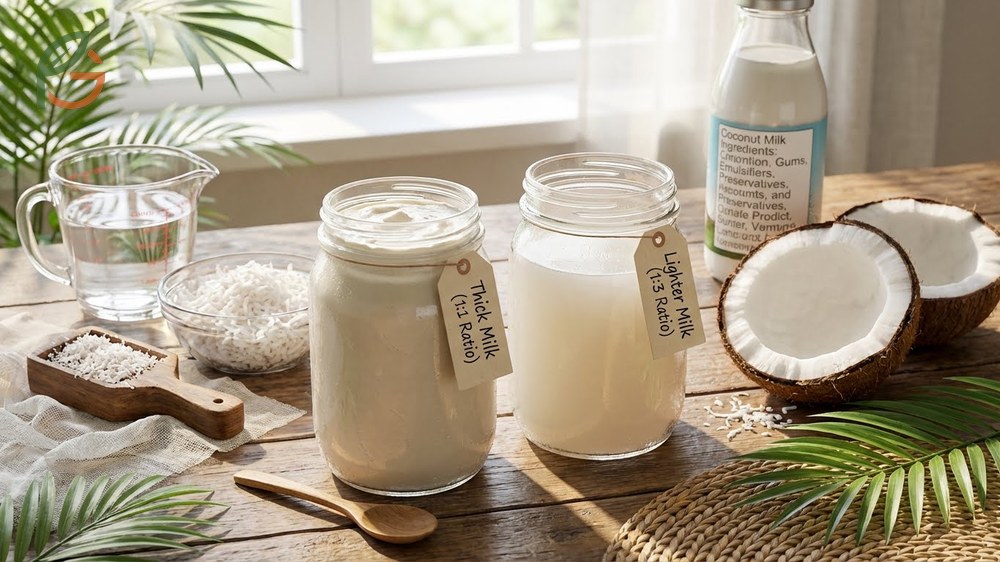
The basic recipe follows a 1:1 ratio of coconut meat to water for thick, creamy milk similar to canned coconut milk. For lighter beverage-style milk, use a 1:3 or 1:4 ratio instead. Most recipes fall somewhere between these extremes depending on your intended use.
A friend in Oaxaca, Mexico who runs a small coconut farm told me in March 2024 that she always makes a double batch. She uses the first pressing for cooking curries and soups, then adds more water to the pulp for a second, lighter extraction perfect for smoothies.
Blending Techniques
High-speed blenders like Vitamix or Blendtec work best because they pulverize the coconut meat into tiny particles. This creates smoother, creamier milk with better flavor extraction. If you’re using a standard blender, cut the coconut into smaller pieces and blend in batches.
Blend on high speed for 2-3 minutes until the mixture turns milky white and feels warm to the touch. The friction from blending heats the mixture slightly, which helps release more fat. Stop once you can’t see large coconut chunks—over-blending won’t improve the results.
- Add coconut chunks to blender first, then pour hot water over them
- Start on low speed for 10 seconds to break up large pieces
- Increase to high speed and blend for 2-3 minutes continuously
- Check consistency—mixture should look thick and creamy, not watery
- If too thick, add 1/4 cup more water and blend for 30 additional seconds
- Let rest 1-2 minutes before straining to allow particles to settle
Water Temperature and Ratios
Heat water to approximately 160-180°F (71-82°C)—hot enough to steam but not boiling. Boiling water can cook the coconut meat slightly, altering the flavor. Most people heat water in a kettle, then let it cool for 2-3 minutes before using.
The standard ratios for different milk consistencies are straightforward. Thick milk (for cooking) uses 1 cup coconut to 1 cup water. Medium milk (for coffee or baking) uses 1 cup coconut to 2 cups water. Thin milk (for drinking) uses 1 cup coconut to 3-4 cups water.
Important Tip: Don’t discard the leftover coconut pulp after straining. You can dry it in a low oven (200°F/93°C) for 2-3 hours to make coconut flour, or add it to smoothies and baked goods for extra fiber.
Straining Coconut Milk
Proper straining separates the smooth liquid from the fibrous pulp, giving you silky coconut milk without gritty texture. Research shows that double-straining produces commercial-quality smoothness at home. The straining method you choose affects both yield and texture.
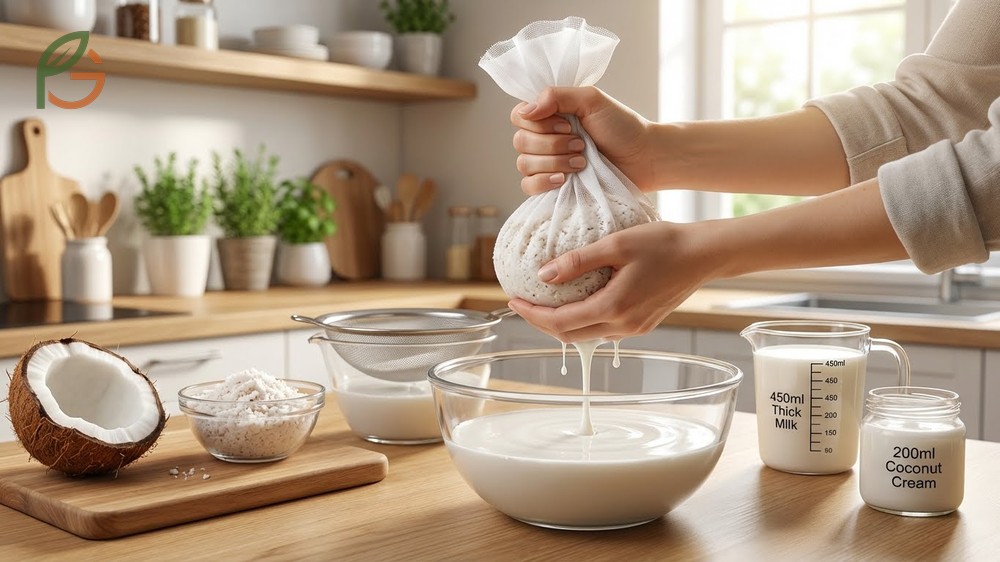
Professional chefs recommend squeezing the pulp firmly to extract maximum milk—you should get 400-450ml thick milk from one coconut plus about 200ml coconut cream that rises to the top.[1] Some coconuts release more milk than others depending on freshness and oil content.
Cheesecloth Method
Line a large bowl with a double layer of cheesecloth, leaving several inches of overhang on all sides. Pour the blended coconut mixture into the center, then gather the corners of the cheesecloth and twist to form a tight bundle. Squeeze firmly over the bowl, using a twisting motion to extract every drop of liquid.
The first squeeze produces the richest, creamiest milk. If you want more volume, add another cup of hot water to the squeezed pulp, mix it with your hands, and squeeze again. This second extraction creates lighter milk that’s perfect for smoothies or drinking.
- Use unbleached cheesecloth folded into 2-3 layers for best results
- Pour slowly to prevent overflow and spillage
- Twist and squeeze for 2-3 minutes to extract maximum liquid
- Let the bundle rest for 30 seconds, then squeeze one final time
- Rinse cheesecloth immediately after use to prevent staining
Nut Milk Bag Alternative
Nut milk bags are reusable mesh bags specifically designed for straining plant-based milks. They’re made from nylon or hemp with fine mesh that filters out even tiny particles. The main advantage over cheesecloth is durability—one bag lasts for years with proper care.
Place the bag over a pitcher or large measuring cup, pour in the blended mixture, then pull the drawstring closed. Squeeze the bag with both hands, working from top to bottom to push the liquid through the mesh. Nut milk bags typically extract slightly more liquid than cheesecloth because the synthetic fibers don’t absorb moisture.
Pro Tip: Chill your storage container in the freezer for 10 minutes before adding strained coconut milk. The cold container helps the milk stay fresh longer and prevents the coconut cream from separating too quickly.
Storing Homemade Milk
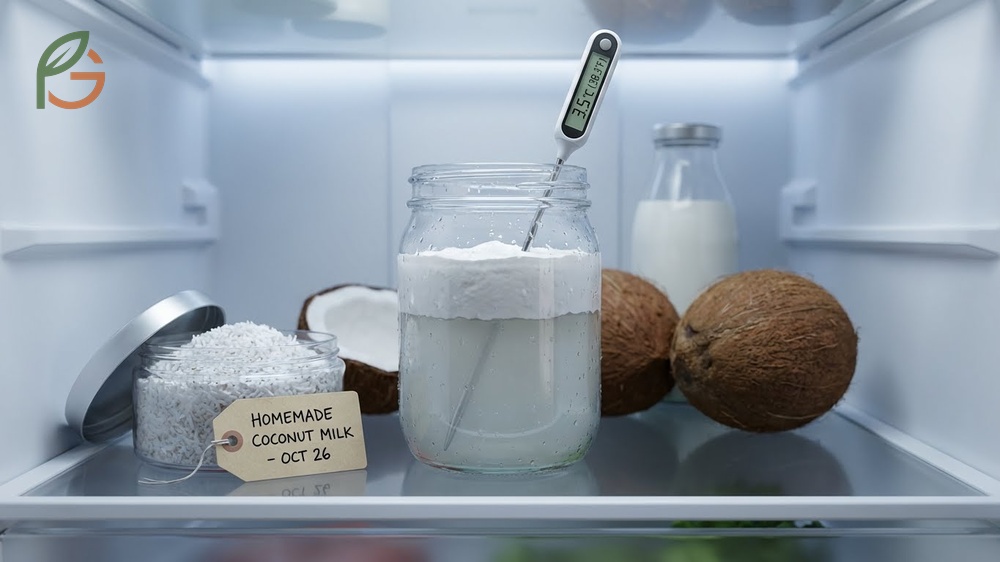
Homemade coconut milk lacks the preservatives and stabilizers that extend commercial shelf life, so proper storage is critical. Studies indicate that fresh coconut milk keeps for 3-4 days refrigerated at temperatures below 40°F (4°C).[3] Beyond that timeframe, bacterial growth accelerates and the milk develops off flavors.
The coconut cream naturally separates and rises to the top after a few hours in the refrigerator. This isn’t a sign of spoilage—it’s completely normal. Shake the container vigorously for 10-15 seconds before each use to recombine the cream and liquid.
Refrigeration Guidelines
Transfer strained coconut milk to a glass jar or airtight container immediately after preparation. Label the container with the date so you can track freshness. Store it on a middle or lower shelf where temperatures stay most consistent—not in the door where temperatures fluctuate.
Check the milk before each use by smelling and looking for signs of spoilage. Fresh coconut milk should smell sweet and tropical. Discard it if you notice sour odors, mold, or pink discoloration anywhere in the container.
- Use only clean, sterilized containers to prevent bacterial contamination
- Fill containers to the top to minimize air exposure and oxidation
- Keep refrigerator temperature at or below 40°F (4°C) consistently
- Use a clean spoon each time you pour milk to avoid introducing bacteria
- Consume within 3-4 days for optimal flavor and food safety
Freezing Methods
Freezing extends coconut milk storage to 2-3 months at temperatures of 0°F (-18°C) or below.[3] The texture may change slightly after thawing—the fat sometimes separates more than fresh milk. Whisk vigorously or blend briefly to restore smooth consistency.
Ice cube trays work perfectly for freezing coconut milk in recipe-sized portions. Pour milk into trays, freeze until solid (about 4-6 hours), then transfer cubes to a freezer bag. Each standard cube holds approximately 2 tablespoons, making it easy to measure for recipes.
This table compares storage duration, temperature requirements, container types, and quality retention for different coconut milk preservation methods
| Storage Method | Duration | Temperature | Best Container | Quality After Storage |
|---|---|---|---|---|
| Refrigeration | 3-4 days[3] | 40°F (4°C) or below | Glass jar with tight lid | Excellent—no texture change |
| Freezing (ice cubes) | 2-3 months[3] | 0°F (-18°C) or below | Ice cube trays + freezer bags | Good—may separate, whisk to recombine |
| Freezing (bulk) | 2-3 months | 0°F (-18°C) or below | Zip-lock freezer bags | Good—leave 1-inch headspace for expansion |
| Room temperature (sealed) | 1-3 weeks | Below 77°F (25°C) | Sterilized glass bottle | Fair—requires boiling/sterilization first |
Fresh Coconut Milk Benefits
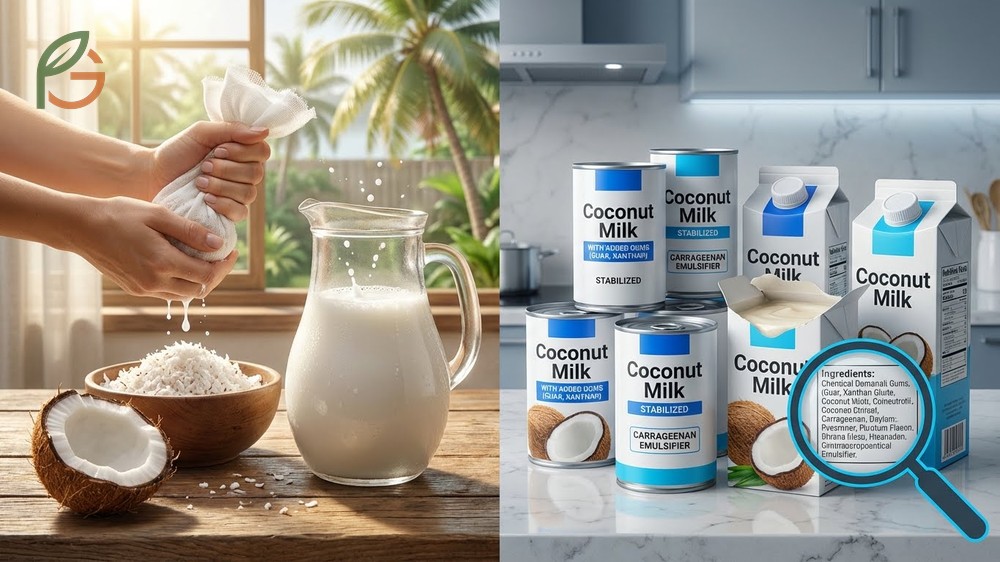
Fresh coconut milk delivers superior flavor compared to canned or carton versions because it hasn’t undergone heat processing or stabilization treatments. Agricultural data shows that commercial coconut milk often contains added gums (like guar or xanthan) for texture and carrageenan as an emulsifier.[4] Homemade versions skip all these additives.
The nutritional profile differs significantly between fresh and commercial products too. Store-bought coconut milk beverages contain only 40 calories per cup because they’re heavily diluted and fortified with synthetic vitamins.[4] Your homemade version contains more fat and natural coconut nutrients in their original form.
What often gets overlooked is that fresh coconut milk’s consistency can be adjusted on demand. You’re not stuck with one thickness like store-bought options. Need rich cream for a curry? Use less water. Want light milk for cereal? Add more water during blending.
- No preservatives like sodium metabisulfite or potassium sorbate
- No stabilizers or thickening agents that affect texture
- Fresh tropical flavor without the metallic taste from cans
- Customizable fat content and consistency for any recipe
- Uses the entire coconut—pulp becomes coconut flour
- Costs less per serving than premium organic carton brands
Fresh coconut milk works beautifully in both sweet and savory applications. Use it in Thai curries, Indian kormas, smoothies, coffee, baked goods, or ice cream. The natural sweetness means you’ll often need less added sugar in recipes. Across global cooking traditions, fresh coconut milk is prized for bringing authentic flavor that canned products can’t match.
Conclusion
The evidence is clear: how to make coconut milk at home delivers fresher flavor, better nutrition, and complete control over ingredients compared to commercial options. You’ll get 400-450ml of thick, creamy milk from one coconut using a simple blend-and-strain method that takes just 15-20 minutes.
Current guidance emphasizes the 1:1 coconut-to-water ratio for thick milk and proper refrigeration at 40°F (4°C) or below to maintain freshness for 3-4 days. FruitGarden encourages home gardeners and coconut enthusiasts to experiment with fresh coconuts from their harvest, adjusting ratios and techniques to match their specific culinary needs.
Frequently Asked Questions
Can I make coconut milk with dried shredded coconut?
Yes, dried unsweetened shredded coconut works well for making coconut milk. Use a 1:1 ratio of shredded coconut to hot water, blend for 2-3 minutes, then strain as usual. The flavor won’t be quite as fresh as using whole coconuts, but it’s convenient and produces good results. You’ll get about 1.5-2 cups of milk from 1 cup of dried coconut.
Why is my homemade coconut milk watery instead of creamy?
Watery coconut milk usually means you’ve used too much water relative to coconut meat. Try a thicker ratio—1 cup coconut to 1 cup water instead of 1:2 or 1:3. Also make sure you’re using mature brown coconuts rather than young green ones, as mature coconuts contain more fat. Blending for the full 2-3 minutes helps extract maximum cream from the meat.
How can I tell if coconut milk has gone bad?
Spoiled coconut milk develops a sour or fermented smell, visible mold on the surface, or pink/yellow discoloration. The texture may become slimy or chunky beyond normal cream separation. Fresh coconut milk should smell sweet and tropical. When in doubt, throw it out—homemade coconut milk only keeps 3-4 days refrigerated, so track the date carefully.
What’s the difference between coconut milk and coconut cream?
Coconut cream is the thick, fatty layer that rises to the top of coconut milk after refrigeration. It contains more fat and less water than coconut milk. You can make coconut cream by using a 1:0.5 ratio (1 cup coconut to 1/2 cup water) or by refrigerating regular coconut milk overnight and scooping off the solid top layer. Cream is thicker and richer for desserts and sauces.
Can I use a regular blender or do I need a high-speed one?
Regular blenders work fine for coconut milk, though high-speed models like Vitamix produce smoother results. With a standard blender, cut the coconut into smaller chunks (1/2 inch instead of 2 inches) and blend in smaller batches. You may need to blend for 3-4 minutes instead of 2 minutes. The milk might be slightly grittier, but straining through cheesecloth removes most texture issues.
Should I add salt or sweetener to homemade coconut milk?
Plain coconut milk doesn’t need additives—the natural sweetness usually suffices. However, you can add a pinch of salt to enhance flavor or 1-2 dates for extra sweetness if using the milk for smoothies or desserts. For savory dishes like curries, skip sweeteners entirely. Add flavorings after straining so they don’t interfere with the extraction process.
What can I do with leftover coconut pulp after straining?
Leftover coconut pulp has multiple uses. Spread it on a baking sheet and dry it in a 200°F (93°C) oven for 2-3 hours, stirring every 30 minutes, to make coconut flour. Or add the wet pulp directly to smoothies, oatmeal, or baked goods for extra fiber. Some people add it to homemade granola or energy balls. Don’t waste it—the pulp retains significant nutritional value.