How to make blueberry preserves doesn’t require commercial pectin or refined sugar. Research shows blueberries naturally contain enough pectin to create thick, spreadable preserves through simple cooking methods[1]. You can also use chia seeds as a natural thickener while sweetening with honey or low-carb alternatives for sugar-free options[2]. FruitGarden synthesizes current food preservation research to help home gardeners transform fresh harvests into shelf-stable pantry staples.
Quick Answer
- Blueberries naturally contain pectin, so you don’t need commercial pectin for thick preserves[1]
- Chia seeds work as a natural thickener—use 4 tablespoons per 2 cups fruit for sugar-free preserves[2]
- Fresh and frozen blueberries work equally well—frozen berries actually break down faster for easier cooking[3]
- Water bath canning provides up to 2 years shelf life when processed correctly[4]
How to Make Blueberry Preserves
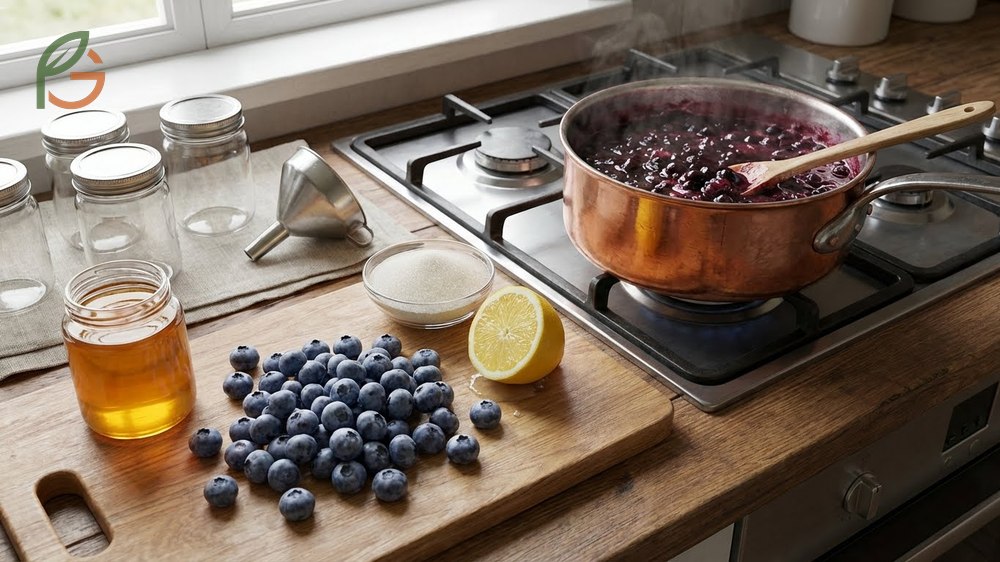
Making blueberry preserves at home takes about 30 minutes from start to finish. You’ll need just three basic ingredients: blueberries, a sweetener (or none at all), and lemon juice to balance the flavor. The process involves cooking berries until they break down and thicken naturally.
Studies show that blueberries contain natural pectin in their skins and seeds, which activates during cooking to create the gel-like texture you want in preserves[1]. This means you don’t need to buy expensive commercial pectin products. Most people find that cooking for 15-20 minutes gives the perfect spreadable consistency.
The key difference between preserves and jam lies in texture—preserves contain larger fruit pieces while jam is more uniform. For blueberry preserves, you’ll want to leave some berries partially intact rather than mashing everything completely smooth.
Why Blueberries Don’t Need Pectin
Blueberries naturally rank high among fruits with pectin content. Their skins contain concentrated pectin that releases during cooking when combined with acid and heat. This natural thickening happens without adding commercial pectin powder.
Research shows that the pectin in blueberry skins needs three elements to gel properly: fruit pectin, acid (from lemon juice), and heat[1]. When you simmer the berries, the cell walls break down and release this natural pectin into your mixture. That’s why longer cooking times produce thicker preserves.
Important note: If you’re like most Americans who prefer extra-thick preserves, you can add a small amount of cornstarch dissolved in water during the final 5 minutes of cooking. This gives you more control over the final texture without compromising the natural blueberry flavor.
Basic Equipment You Need
You don’t need specialized equipment to make small-batch preserves. A medium saucepan, wooden spoon, and clean glass jars handle most jobs. For water bath canning, you’ll need a large pot deep enough to cover jars by 1-2 inches.
- Medium saucepan (3-4 quart capacity)
- Wooden spoon or silicone spatula for stirring
- Glass jars with two-piece lids (half-pint or pint size)
- Large stockpot for water bath canning
- Jar lifter or tongs for handling hot jars
- Ladle or wide-mouth funnel for filling jars
- Kitchen thermometer (optional but helpful)
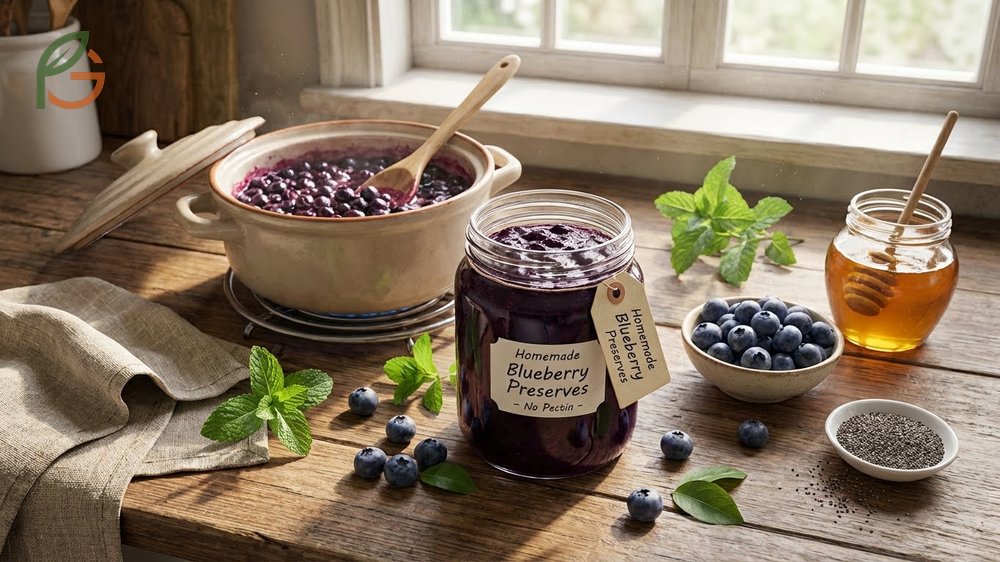
Blueberry Preserves No Pectin
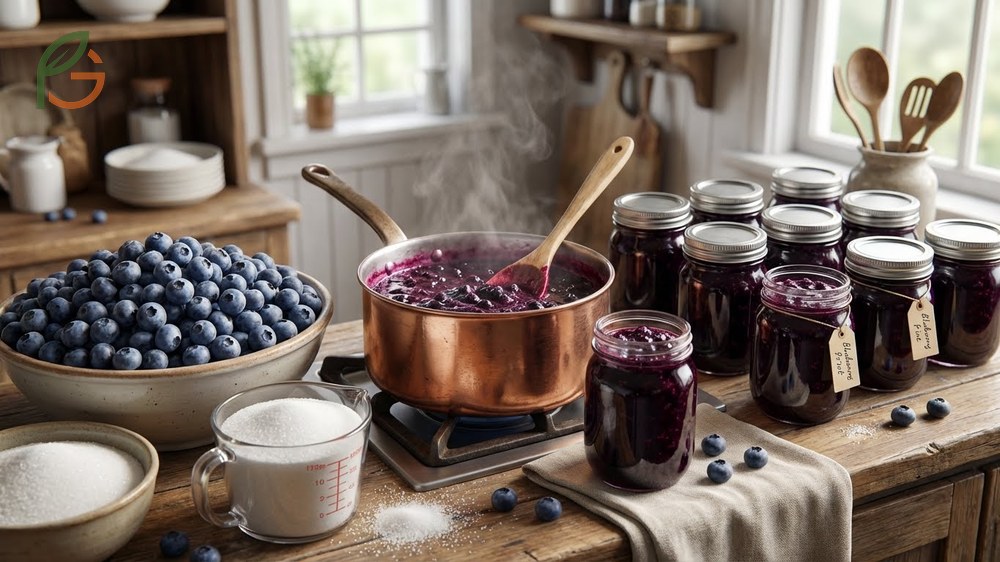
The traditional method for blueberry preserves without pectin uses a 3:1 or 4:1 ratio of fruit to sugar. Current data shows that 10 cups of fresh blueberries combined with 6 cups sugar produces about 9 half-pint jars[5]. You can reduce sugar significantly and still get good results.
What often gets overlooked is that sugar serves multiple purposes beyond sweetness—it acts as a preservative and helps with gel formation. However, blueberries contain enough natural pectin that you can cut sugar by half and still achieve proper consistency. The preserves won’t be as sweet, but they’ll have more intense berry flavor.
Simple Three-Ingredient Method
Research shows the simplest recipe needs only blueberries, minimal sweetener, and lemon juice[1]. Start with 2 cups fresh blueberries, 2-4 tablespoons sweetener (or skip it entirely), and 1 tablespoon lemon juice. Combine everything in a saucepan and bring to a boil.
Once boiling, reduce heat to medium-low and simmer for 15-20 minutes, stirring occasionally. The mixture will thicken as it cooks and water evaporates. You’ll notice the berries start breaking down naturally—use a potato masher if you want a smoother consistency.
For small batches you’ll use right away, skip the canning process. Let the preserves cool, transfer to a clean jar, and refrigerate. This quick method works great when you’ve got fresh berries from your garden that need using up.
From My Experience: My cousin in Monterrey, Mexico made preserves using wild blueberries she foraged in the mountains last July. She cooked 4 cups berries for exactly 18 minutes—matching the typical 15-20 minute range—and got perfectly thick preserves without any added pectin.
Testing for Doneness
The plate test tells you when preserves are ready. Place a small plate in your freezer before you start cooking. When you think the preserves are done, drop a spoonful onto the cold plate and wait 30 seconds.
Push the mixture with your finger—if it wrinkles and holds its shape rather than running together, it’s ready. If it’s still too liquid, continue cooking for 3-5 minutes and test again. This method works better than trying to judge by appearance alone.
- Mixture coats the back of a spoon and doesn’t run off immediately
- Preserves wrinkle when pushed on a cold plate
- Bubbles become thicker and take longer to pop
- Color darkens from bright blue to deeper purple-blue
- Volume reduces by about one-third from starting amount
Sugar-Free Blueberry Preserves
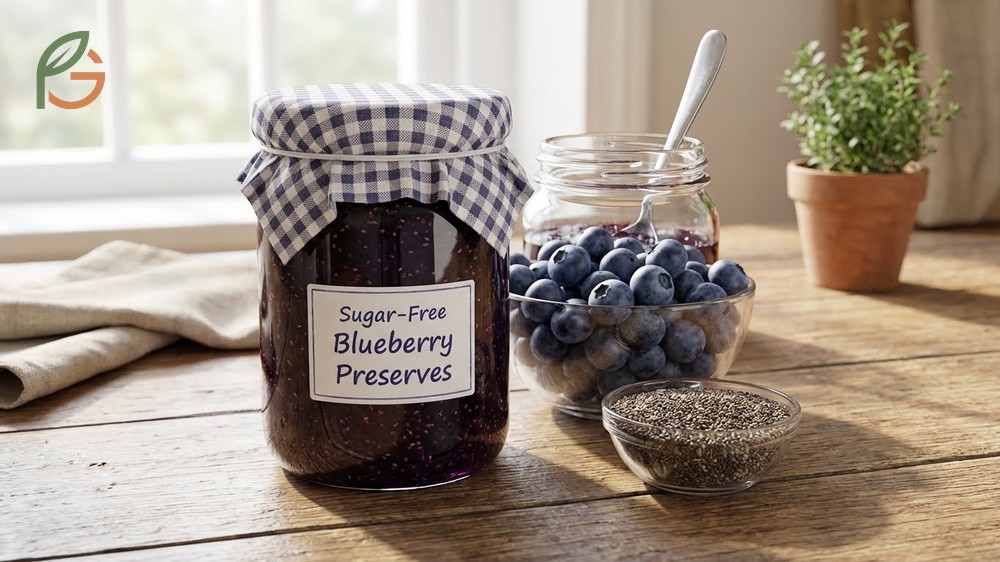
Sugar-free blueberry preserves rely on natural fruit sweetness combined with alternative sweeteners. Studies demonstrate that chia seeds work exceptionally well as both a pectin substitute and thickener in sugar-free recipes[2]. This approach reduces total carbohydrates while maintaining good texture.
Evidence suggests that completely unsweetened preserves mold quickly—within 7-10 days even when refrigerated[6]. Adding even a small amount of alternative sweetener extends shelf life. You don’t need much—start with 2-3 tablespoons per 2 cups berries and adjust to taste.
Most people find that pairing sugar-free preserves with higher-protein foods like Greek yogurt or whole grain toast balances the tart flavor. The absence of sugar lets the natural blueberry taste shine through more clearly.
Natural Pectin Substitutes
Chia seeds provide the most effective natural alternative to commercial pectin. Research shows that 4 tablespoons of chia seeds per 2 cups of fruit creates proper gel texture[2]. The seeds absorb liquid and expand, thickening the mixture without adding sugar.
To use chia seeds effectively, cook your blueberries first until they break down and soften. Remove from heat, blend if desired for smoother texture, then stir in the chia seeds. Let the mixture sit for 10-15 minutes—the seeds need time to absorb liquid and expand fully.
After sitting overnight in the refrigerator, chia seed preserves reach their final consistency[2]. The texture will be slightly different from traditional preserves—more gel-like with visible seeds—but it spreads well and tastes great. You can blend the finished product if you prefer a smoother appearance.
Storage tip: Chia seed preserves don’t can well using traditional water bath methods because the seeds can settle during processing. Instead, make small batches and store them in the refrigerator for up to 3 weeks or freeze for up to 6 months.
Low-Carb Sweetener Options
Several low-carb sweeteners work well in blueberry preserves. Erythritol blends, monk fruit sweetener, and stevia all provide sweetness without adding carbohydrates. Current guidance shows that using 2-3 tablespoons of these sweeteners per 2 cups berries gives balanced flavor[2].
Honey and maple syrup offer natural alternatives with lower glycemic impact than white sugar. While they still contain carbohydrates, they provide additional nutrients and more complex flavor. Use about half the amount you’d use of regular sugar—these natural sweeteners taste more concentrated.
- Erythritol blends (measures cup-for-cup like sugar, no bitter aftertaste)
- Monk fruit sweetener (very sweet, use sparingly, about 1/4 the amount of sugar)
- Stevia extract (highly concentrated, just a few drops needed)
- Raw honey (natural antibacterial properties, adds unique flavor)
- Pure maple syrup (adds caramel notes, use 1/2 cup per 4 cups berries)
- Xylitol (similar sweetness to sugar but keep away from pets)
Blueberry Preserves from Frozen Blueberries
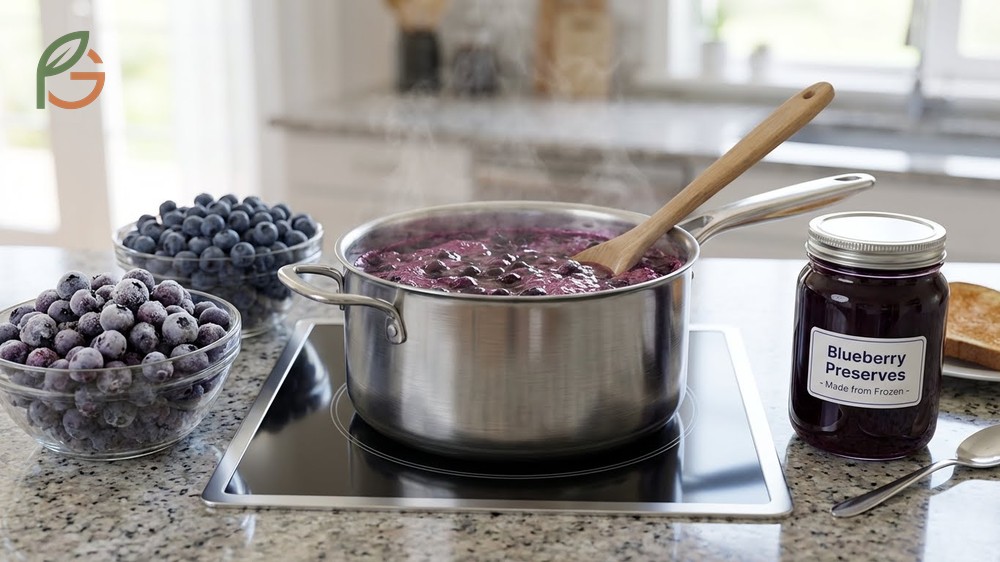
Frozen blueberries work just as well as fresh for making preserves. Studies show that frozen berries often deliver more consistent flavor because they’re frozen at peak ripeness[7]. The freezing process also breaks down cell walls, which means frozen berries actually cook faster and break apart more easily than fresh ones.
Research demonstrates that frozen fruit performs better than fresh in cooked applications because texture differences disappear during cooking[3]. You don’t need to thaw frozen blueberries before cooking—add them directly to your saucepan. They’ll release more liquid initially, which extends cooking time by about 5 minutes.
For best results with frozen berries, start with medium-high heat to bring the mixture to a boil quickly. Once boiling, reduce to medium-low and simmer until the extra liquid evaporates and the preserves thicken. You might need to cook frozen berries for 20-25 minutes total compared to 15-20 minutes for fresh.
Frozen wild blueberries make exceptional preserves because they’re smaller and more intensely flavored than cultivated varieties. Their higher skin-to-flesh ratio means more natural pectin, which creates thicker preserves with less cooking time. If you’re lucky enough to find frozen wild blueberries, they’re worth trying.
Cost-saving tip: Buying frozen blueberries in bulk during sales and making preserves year-round costs less than buying fresh berries out of season. Store preserves in the freezer for up to 12 months if you don’t plan to water bath can them.
Water Bath Canning Guide
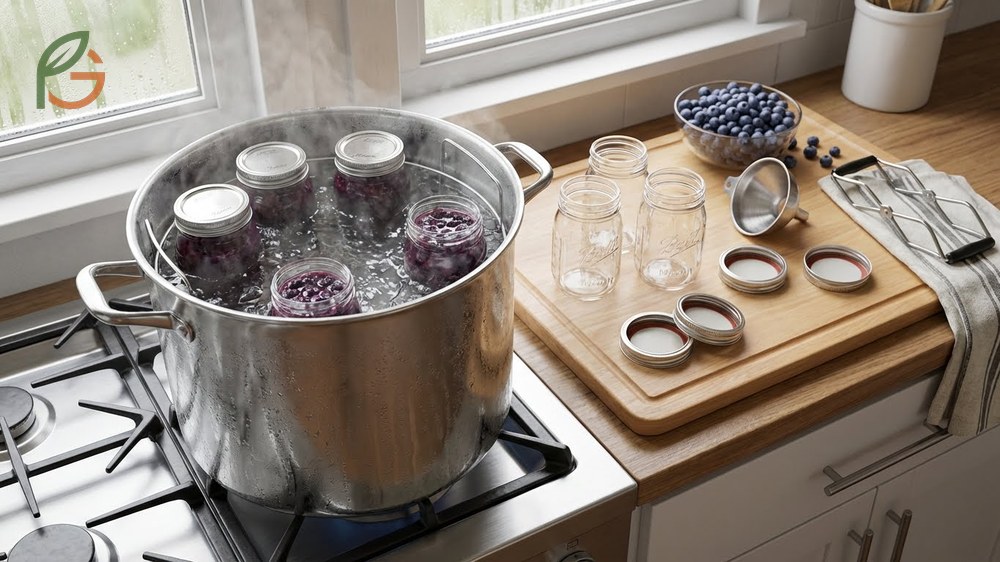
Water bath canning preserves your blueberry preserves for long-term storage at room temperature. Research shows that jars processed in boiling water for 10 minutes at elevations below 1,000 feet achieve proper sterilization[8]. This method works for high-acid foods like fruit preserves without requiring a pressure canner.
Start by washing jars, lids, and bands in hot soapy water. Place jars upright on a rack in your canning pot and fill with hot water to 1 inch above the jar tops. Bring to a boil and boil for 10 minutes to sterilize[8]. Keep jars in hot water until you’re ready to fill them.
Fill hot jars with hot preserves, leaving 1/4-inch headspace at the top. Wipe jar rims clean with a damp cloth, place lids on top, and screw bands on fingertip-tight. Process filled jars in boiling water for 10 minutes, then remove and let cool undisturbed for 12-24 hours.
Current data indicates that jars processed for more than 10 minutes don’t need pre-sterilization—the processing time sterilizes everything[9]. However, pre-sterilizing ensures clean jars and keeps them hot, which prevents jar breakage when you add hot preserves.
- Inspect jars for cracks or chips that could prevent sealing
- Wash jars, lids, and bands in hot soapy water and rinse well
- Sterilize jars by boiling for 10 minutes (add 1 minute per 1,000 feet elevation)
- Keep sterilized jars in hot water until ready to fill
- Fill hot jars with hot preserves leaving 1/4-inch headspace
- Remove air bubbles by sliding a spatula around jar inside edges
- Wipe rims clean, apply lids, and screw on bands fingertip-tight
- Process in boiling water bath for 10 minutes (start timing when water returns to boil)
- Remove jars and let cool undisturbed for 12-24 hours before checking seals
Safety reminder: Check seals after cooling by pressing the center of each lid. If it doesn’t move or make a popping sound, the jar sealed properly. Refrigerate any jars that didn’t seal and use within 3 weeks.
Shelf Life and Storage
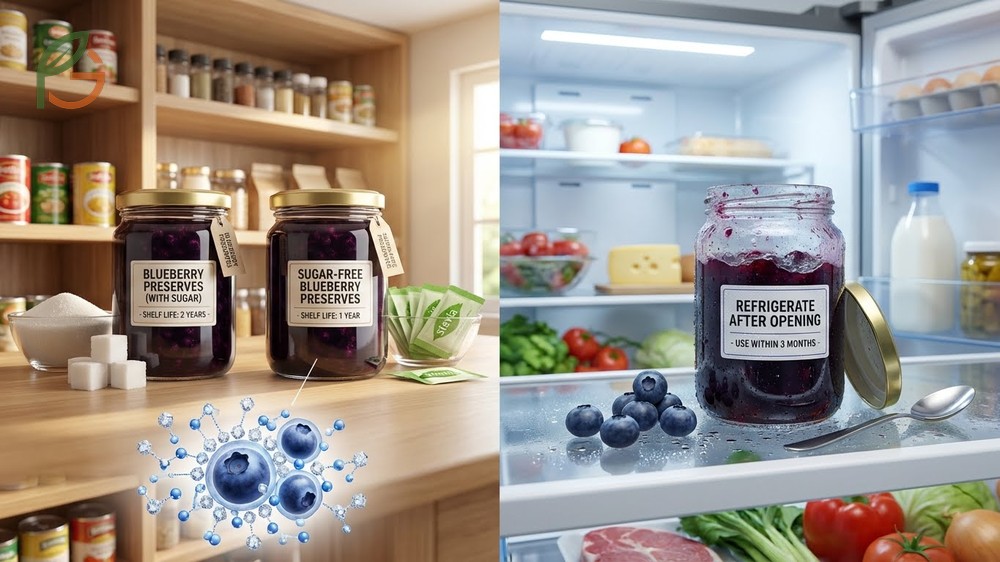
Properly canned blueberry preserves made with sugar last about 2 years when stored in a cool, dry place away from direct sunlight[4]. Sugar-free or low-sugar versions last about 1 year under the same conditions[4]. Once you open a jar, refrigerate it and use within 3 months for best quality.
Evidence suggests that sugar acts as a natural preservative by binding water molecules, which prevents bacterial growth[10]. That’s why low-sugar preserves have shorter shelf life. If you’re making sugar-free preserves, consider freezing them instead of water bath canning for safer long-term storage.
Freezing extends shelf life for any preserves to 6-12 months. Leave 1/2-inch headspace in containers to allow for expansion during freezing. Thaw frozen preserves in the refrigerator overnight before using—avoid thawing at room temperature.
This table compares storage methods, shelf life duration, and best uses for different blueberry preserves preparation approaches including water bath canning, refrigeration, and freezing
| Storage Method | With Sugar | Sugar-Free | Best For |
|---|---|---|---|
| Water Bath Canning (sealed) | 2 years[4] | 1 year[4] | Long-term pantry storage |
| Refrigerated (opened jars) | 3 months[4] | 6 weeks[4] | Active use after opening |
| Refrigerated (unsealed) | 3 weeks | 7-10 days[6] | Small fresh batches |
| Frozen | 12 months | 6 months[4] | Maximum quality retention |
- Visible mold growth (even small spots mean discard the entire jar)
- Bubbles rising in the jar when stored at room temperature
- Lid bulges upward or shows signs of pressure
- Off smell when you open the jar (sour, fermented, or unpleasant)
- Color changes to brown or develops dark spots
- Liquid separates and pools on top with dried-out preserves below
Conclusion
The evidence is clear: how to make blueberry preserves successfully comes down to understanding that blueberries don’t need commercial pectin, you can use frozen berries just as effectively as fresh, and sugar-free options work when you replace pectin with chia seeds. Water bath canning provides up to 2 years of shelf life when you follow proper sterilization methods. Whether you’re preserving a bumper crop from your garden or taking advantage of sales on frozen berries, these techniques help you create delicious homemade preserves year-round.
Current guidance emphasizes using natural thickeners and alternative sweeteners to reduce sugar while maintaining food safety. For more fruit preservation techniques and seasonal gardening tips, FruitGarden offers research-based guides that help home growers maximize their harvests.
Frequently Asked Questions
How do you make blueberry preserves thicker without pectin?
Cook the blueberries longer to evaporate more liquid—extending cooking time from 15 to 25 minutes significantly thickens preserves. You can also add 1-2 tablespoons of chia seeds which absorb liquid and create gel-like texture, or dissolve 1/2 teaspoon cornstarch in water and stir it into simmering preserves during the final 5 minutes of cooking.
Can you make blueberry preserves without any sweetener?
Yes, but unsweetened preserves last only 7-10 days in the refrigerator and can’t be safely canned for long-term storage. The lack of sugar makes them prone to rapid mold growth. Make small batches you’ll use quickly, or add at least 2-3 tablespoons of alternative sweetener to extend shelf life while keeping sugar low.
What’s the difference between blueberry compote and preserves?
Compote has a looser, sauce-like consistency and cooks for just 10-15 minutes, leaving fruit pieces larger and more distinct. Preserves cook longer (20-30 minutes) until thicker and more spreadable, with a jam-like texture but still containing visible fruit chunks. Compote works better as a topping for desserts, while preserves spread better on toast.
How long do homemade blueberry preserves last in the fridge?
Opened jars of preserves made with sugar last up to 3 months refrigerated, while sugar-free versions last about 6 weeks. Uncanned preserves stored in the refrigerator from the start last 3 weeks with sugar or 7-10 days without sugar. Always use a clean spoon when serving to prevent contamination.
Can I substitute honey for sugar in canned blueberry preserves?
Yes, but honey-sweetened preserves don’t can as safely using standard water bath methods because honey doesn’t preserve as effectively as refined sugar. Make honey-sweetened preserves in small batches for refrigerator storage (up to 3 weeks) or freezing (up to 6 months). Use about half the amount of honey compared to sugar since it tastes sweeter.
Do frozen blueberries need to be thawed before making preserves?
No, add frozen blueberries directly to your saucepan without thawing. They’ll release more liquid initially, which extends cooking time by about 5 minutes compared to fresh berries. The freezing process actually breaks down cell walls, making frozen berries cook faster and break apart more easily once they start heating.
What happens if you don’t sterilize jars before canning preserves?
Unsterilized jars can introduce bacteria or mold spores that cause preserves to spoil even after water bath processing. While jars processed for more than 10 minutes don’t technically require pre-sterilization, sterilizing ensures the cleanest possible environment and prevents thermal shock that can crack jars when you add hot preserves.